
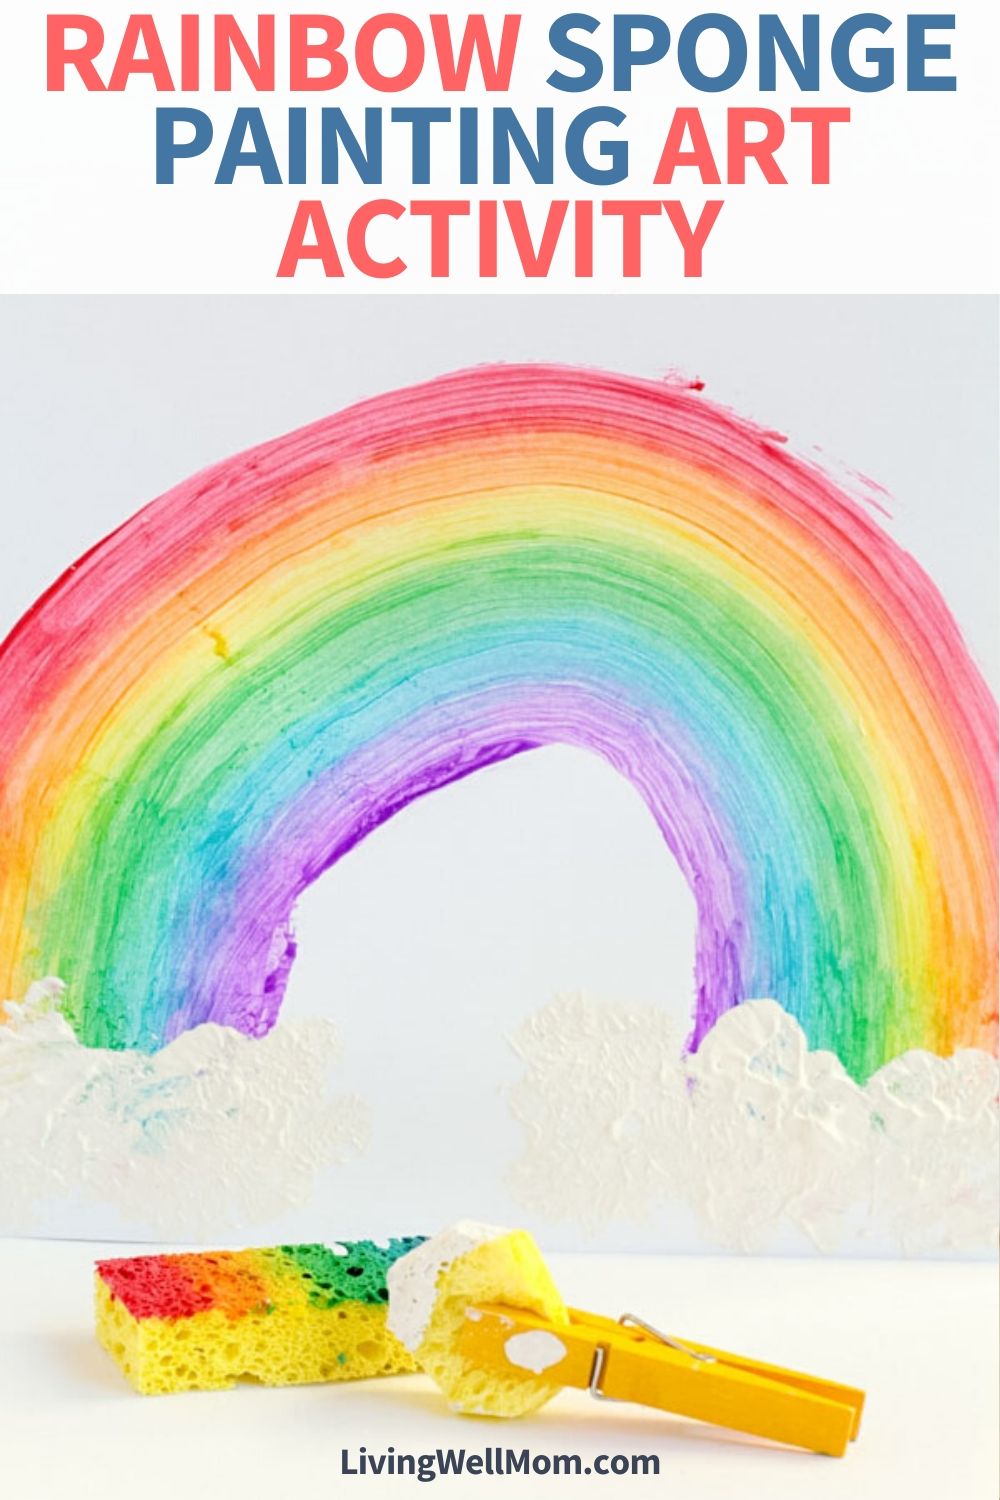
This rainbow sponge painting is a fun way to give your kids some artistic freedom while also creating an educational activity. Here’s everything you need to know about making art with a rainbow sponge.
Have you ever heard of sponge painting? It’s as simple as it sounds – taking an everyday kitchen sponge and painting with it. Kids love sponge painting; there’s just something extra fun about it.
My kids also love rainbows. They’re just so bright and cheerful!
Today I’ll show you how to make a sponge painting rainbow with your kids. It’s fun and easy to do!
Benefits of Sponge Painting
The first thing you may be wondering is why you would even want to paint with a sponge. Wouldn’t a paintbrush do the same thing?
In terms of simply getting color on a page, yes. You can practice painting rainbows with a basic paintbrush, of course. However, younger children will find it infinitely easier to simply swipe a sponge across the page rather than paint on each individual color.
Additionally, sponge painting allows for your child to practice his or her fine motor skills, as well as hand-eye coordination.
Painting rainbows in particular also allow you to practice color theory, color mixing, and even simply just learning the names of the colors together.
What Type of Paint Should I Use for Sponge Painting Crafts?
I always use non-toxic paint specifically designed for kids anytime we do crafts. Kids at notorious for sticking anything and everything in their mouths…at least mine are!
I like this washable paint from Crayola – the colors are vivid and it washes off easily.
You can also easily make a DIY edible fingerpaint – it has just two ingredients and is completely safe for kids!
How to Start Sponge Painting Rainbows
Making this craft with your children is simple! All you need are a few basic supplies.
Supplies for the Rainbow Painting Project
What you’ll need to make Sponge Painting Rainbows:
This sponge painting craft can get a little messy, so you might want to make sure your kids are wearing old clothes or a smock and working on a covered surface so things don’t get too crazy.
How to Make the Rainbow Painting
Unless you are working with a huge piece of paper, you’ll need to trim down the sponge so there’s room for all the colors to fit on a standard sheet of paper.
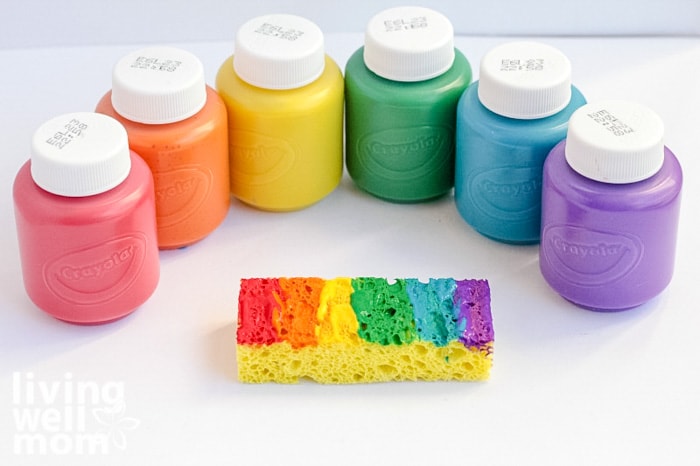
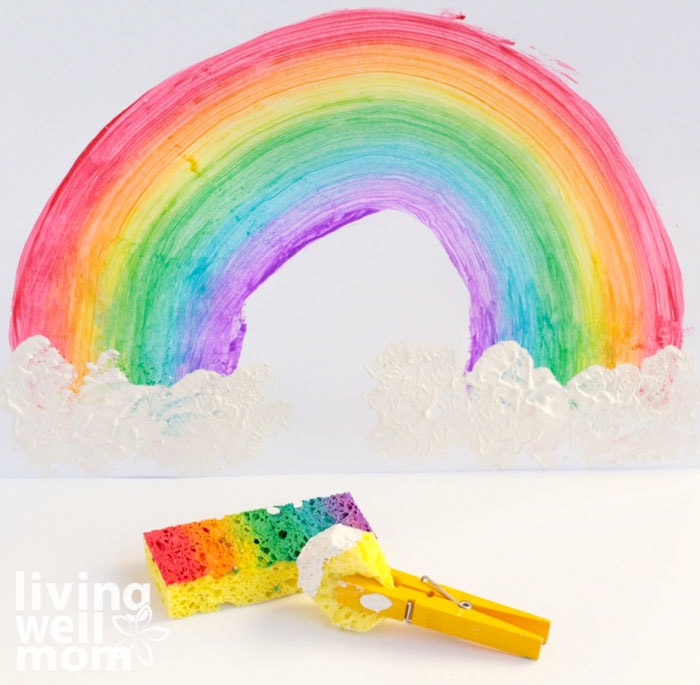
Cut your sponge to about 2 inches wide and 4 inches long. We just cut along the short edge of the sponge.
Paint one line of red, orange, yellow, green, blue, and purple paint across the surface of the sponge. Use a lot of paint so that it will streak across the page.
Older children can do this step on their own to work on those fine-motor skills even more. If you are working with toddlers, however, you’ll want to do this step for them.
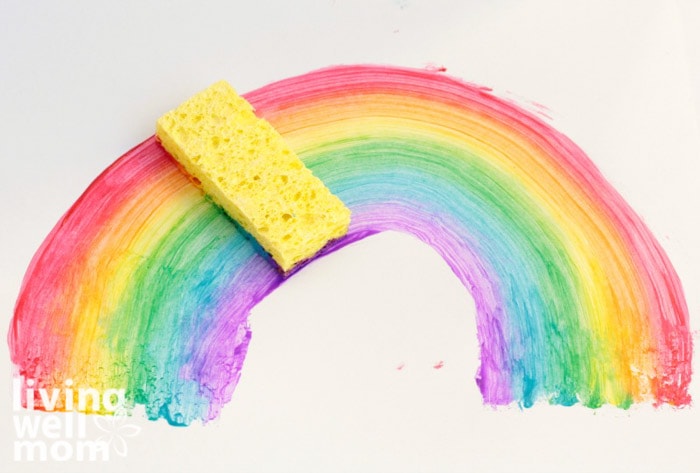
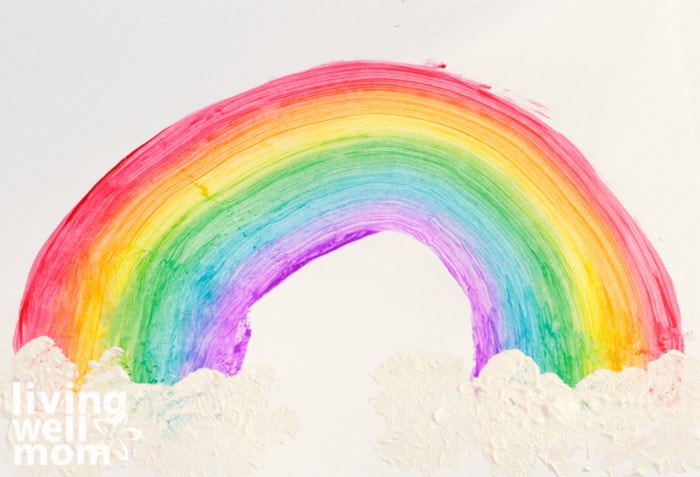
Next, show your kids how to turn the sponge upside down on the paper and drag it in an arch to make a rainbow.
If you run out of paint part way through, you can add more paint to the sponge and keep going. As long as you place the sponge back in the same spot, the colors will turn out just fine and won’t mix.
Add Clouds to the Painting
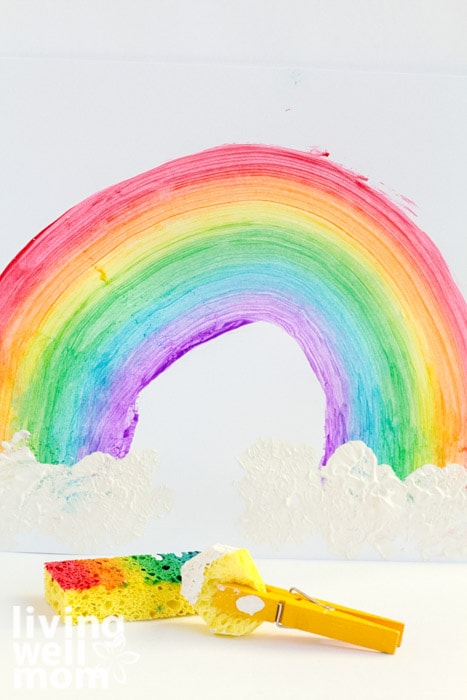
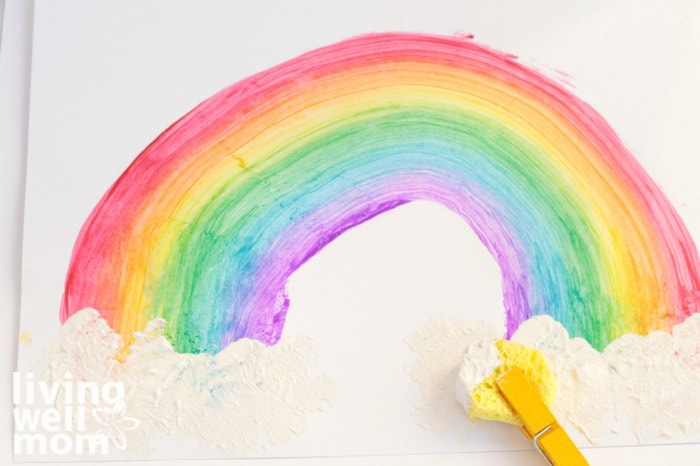
When the rainbow is finished, cut a small piece of sponge and grip it with the clothespin. Again, older children can do this with safety scissors to practice fine motor skills.
Dip the sponge piece into white paint and dab on some clouds below the rainbow.
When the rainbow is done, let your kids experiment with streaking other colors. Sponge painting is a blast!
When your child’s sponge painting rainbow picture dries, hang it from your fridge or let your kids hang it in their room. The cheery design will keep you happy even when the skies are bleak!
Other Sponge Painting Ideas for Kids
Your kids will undoubtedly love this craft and want to keep on making new paintings! Here are some other ideas you can use for sponge painting:
- Butterfly painting: cinch the middle of the sponge so it creates two “wings”. Then direct your child to dip the sponge into paint and stamp butterflies onto the paper! Older kids can go back and add finer details such as stripes or dots once the base paint dries.
- Fish painting: use a craft knife to trace out a fish shape in the sponge. Then, let your child use it to paint fishes! I like doing these fish paintings on blue construction paper.
- Shape paintings: cut your sponge into various basic shapes – hearts, squares, rectangles, circles, etc. This is a great way for young children to learn shapes and colors!
The possibilities are truly endless with this craft. Have fun with it!
Pin the image below so you can save the project for later!

The post How to Make a Sponge Painting Rainbow for Kids appeared first on Living Well Mom.