
Ever out and about and need somewhere to tidily store a wet swimsuit, sweaty gym clothes or maybe even dirty diapers? With this wet bag tutorial, it’s all literally in the bag and solved with this handy waterproof storage solution! Made from Spoonflower’s Recycled Canvas and Polyurethane Laminate (also known as PUL), this cute lil’ pouch will help you securely stow away even your grimiest items until they can safely hit the wash. Follow along with Bonnie from Peppermint Magazine to learn how to sew your own handy wet bag.
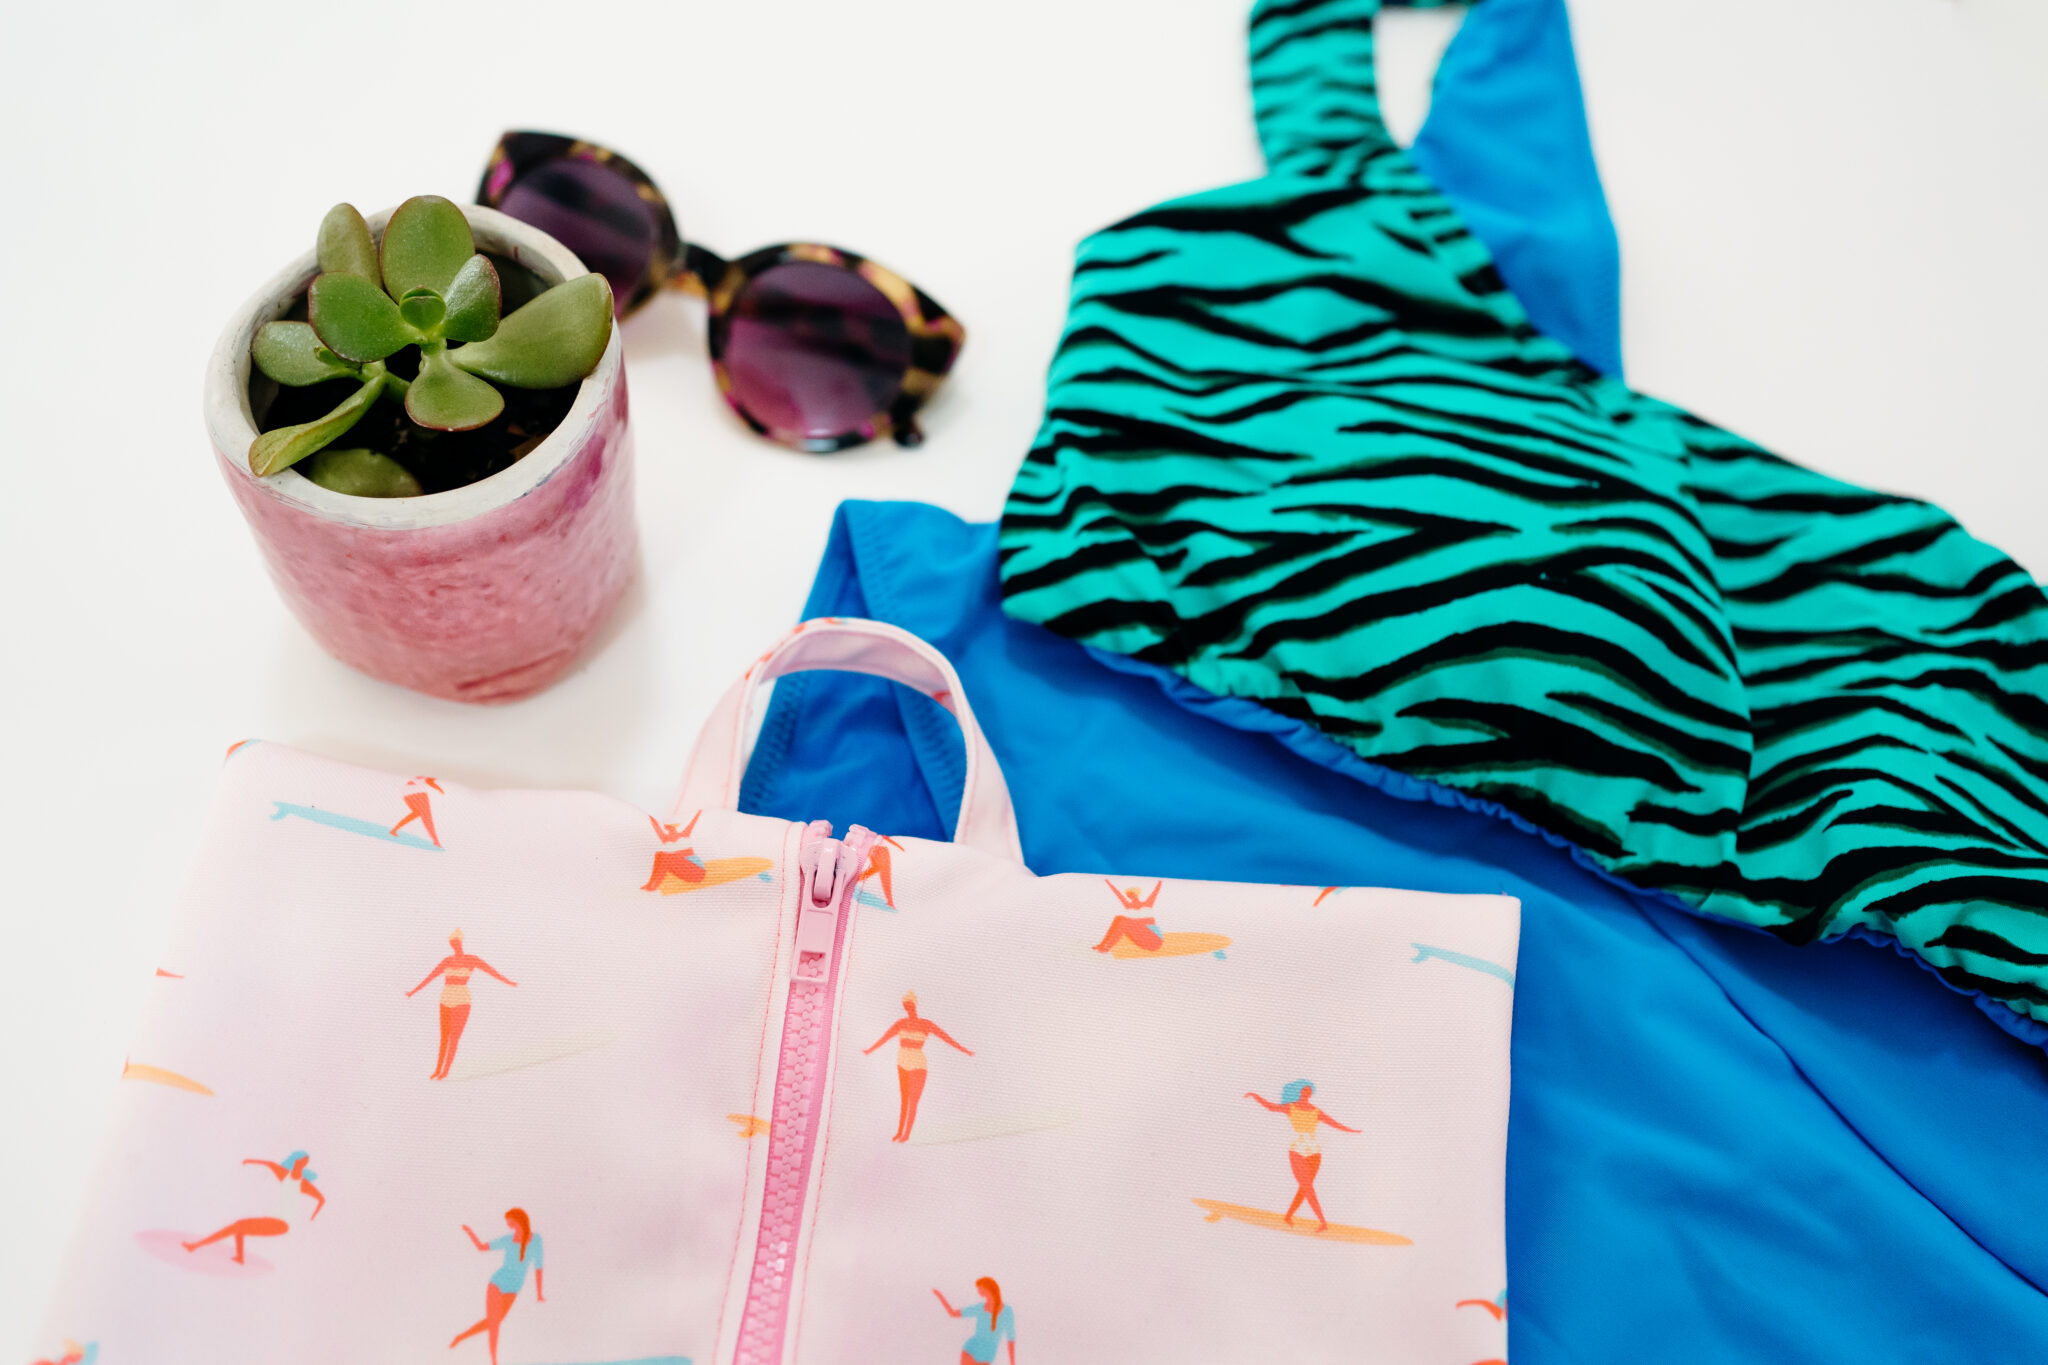
Bonnie: Birds fly south for the winter and many humans too choose to weather the winter in warmer climes! Down here in Australia, we’re gearing up for a long, hot summer and without sounding too stereotypical, here at Peppermint magazine, we’re looking forward to some sun, sand and surf. However, cavorting tropical climates can lead to all sorts of sticky situations and you may be looking for a way to store your wet togs—or swimsuits, as you call them—that’s a little more elegant (and sustainable!) than a spare plastic bag scrounged up from the boot—er, trunk—of your car.
A wet bag is a zippered pouch with a waterproof inner lining that is useful for transporting all sorts of things—wet swimwear, reusable period products and diapers. Basically, anything wet and/or sticky that you want to keep separate from your clean and dry things. If you skip the inner lining, this design doubles as a simple and sweet canvas zipper pouch! With a neat French-seamed finish, the design includes clever folds that allow for optimized storage capacity and cuteness!
Skill level: Intermediate
Materials
- Sewing machine
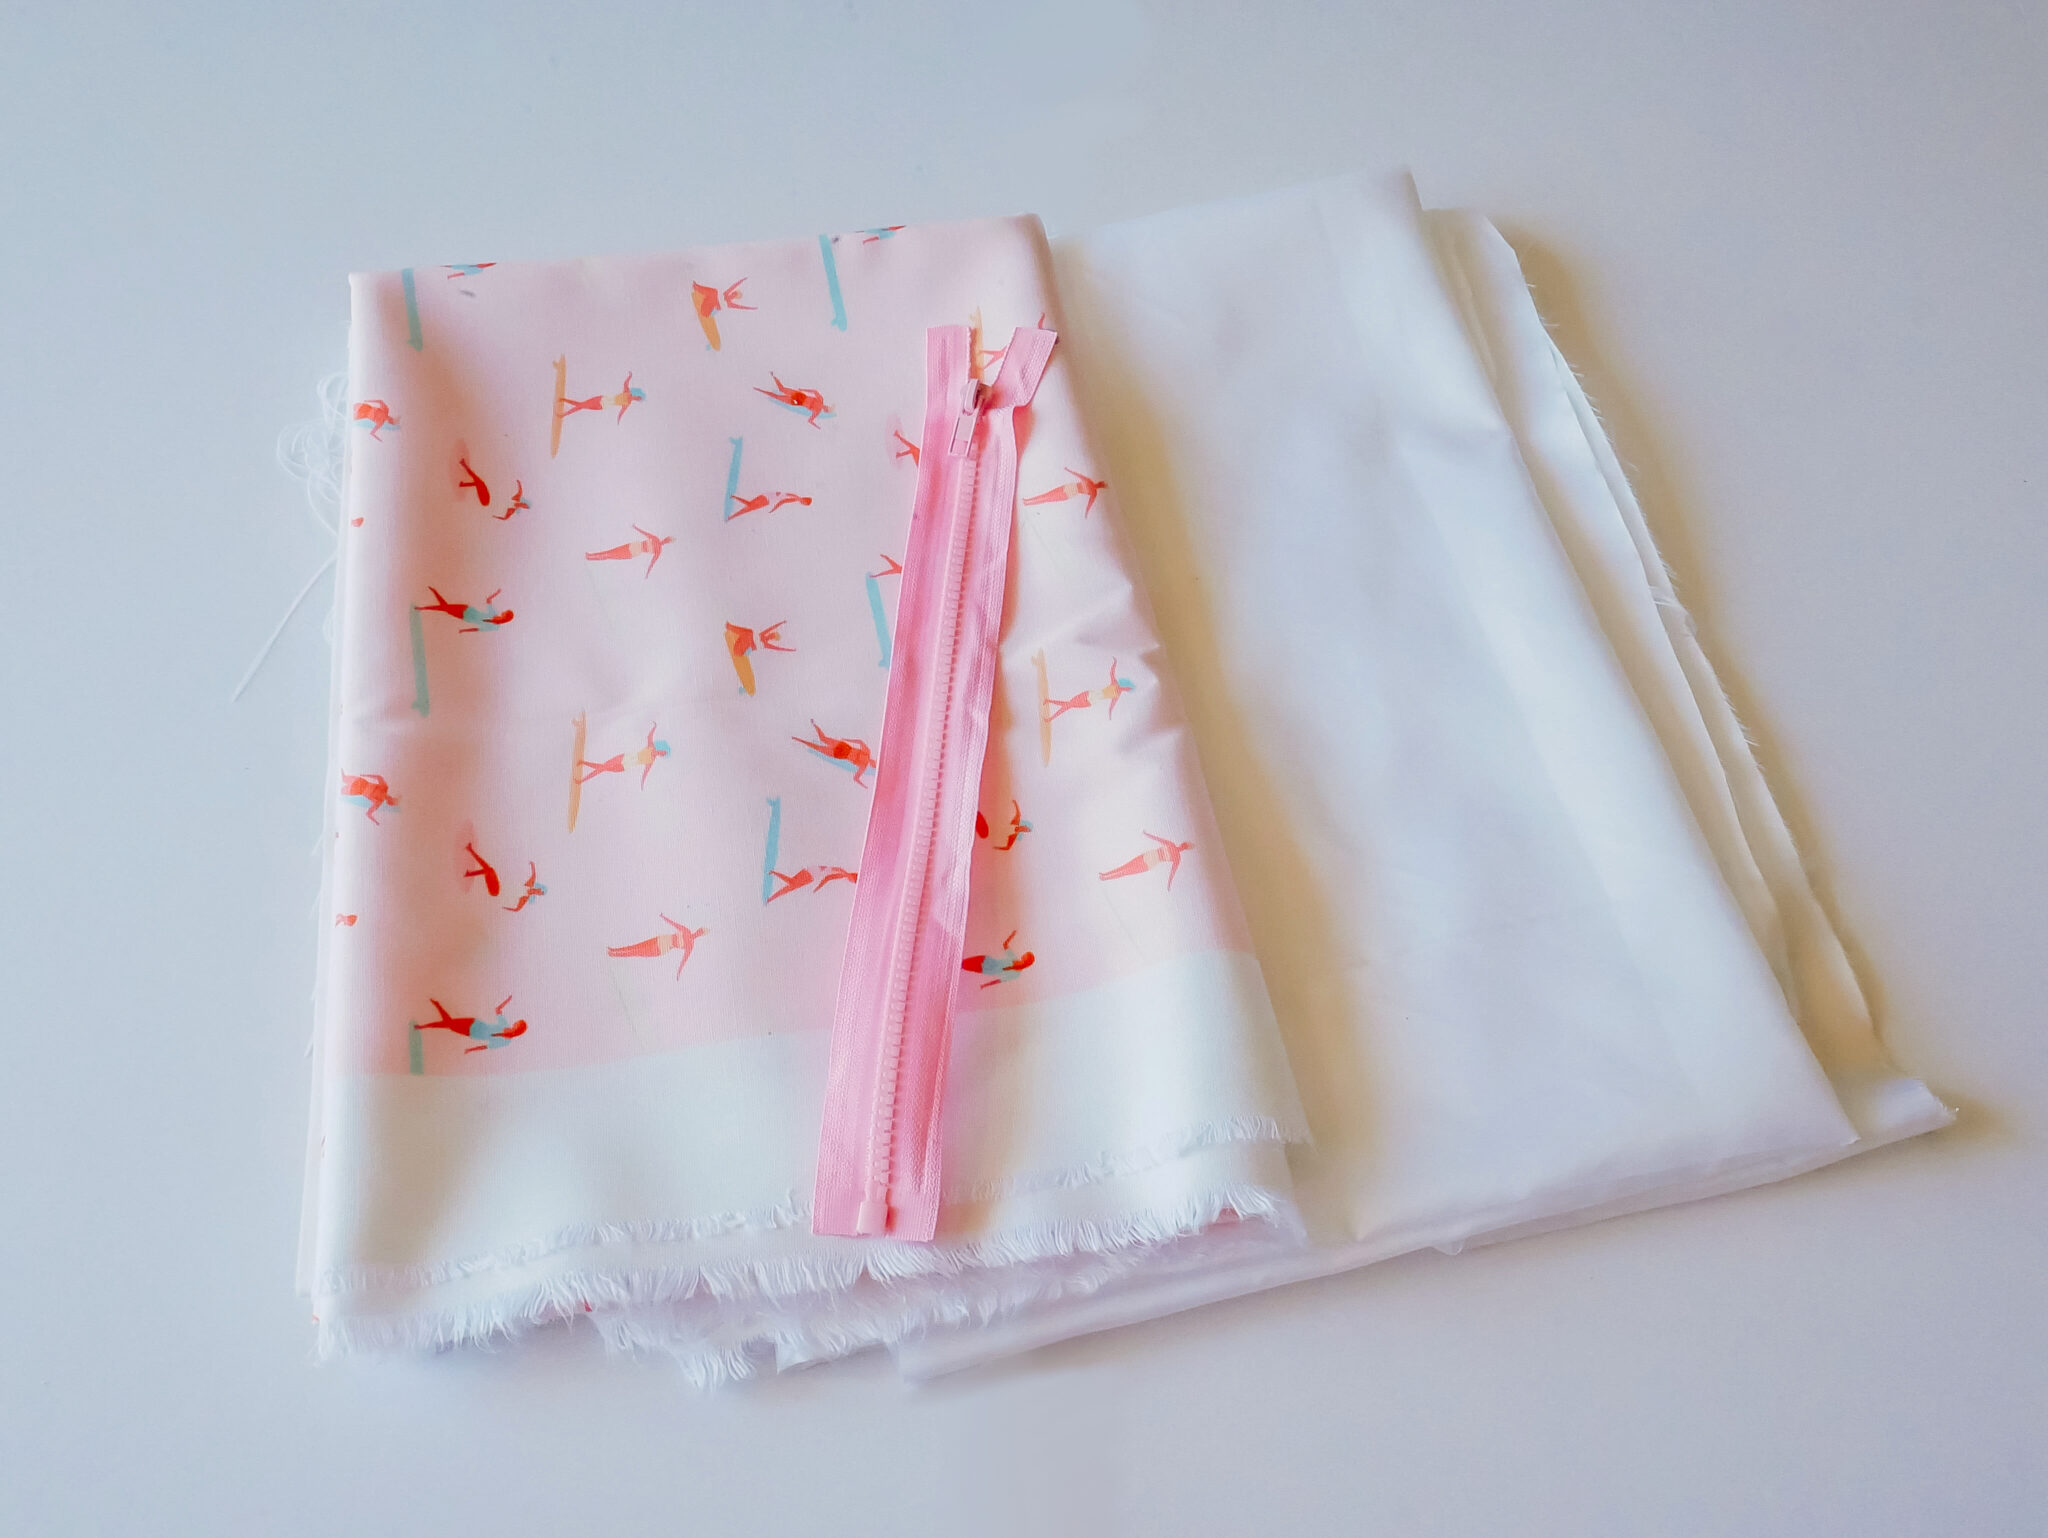
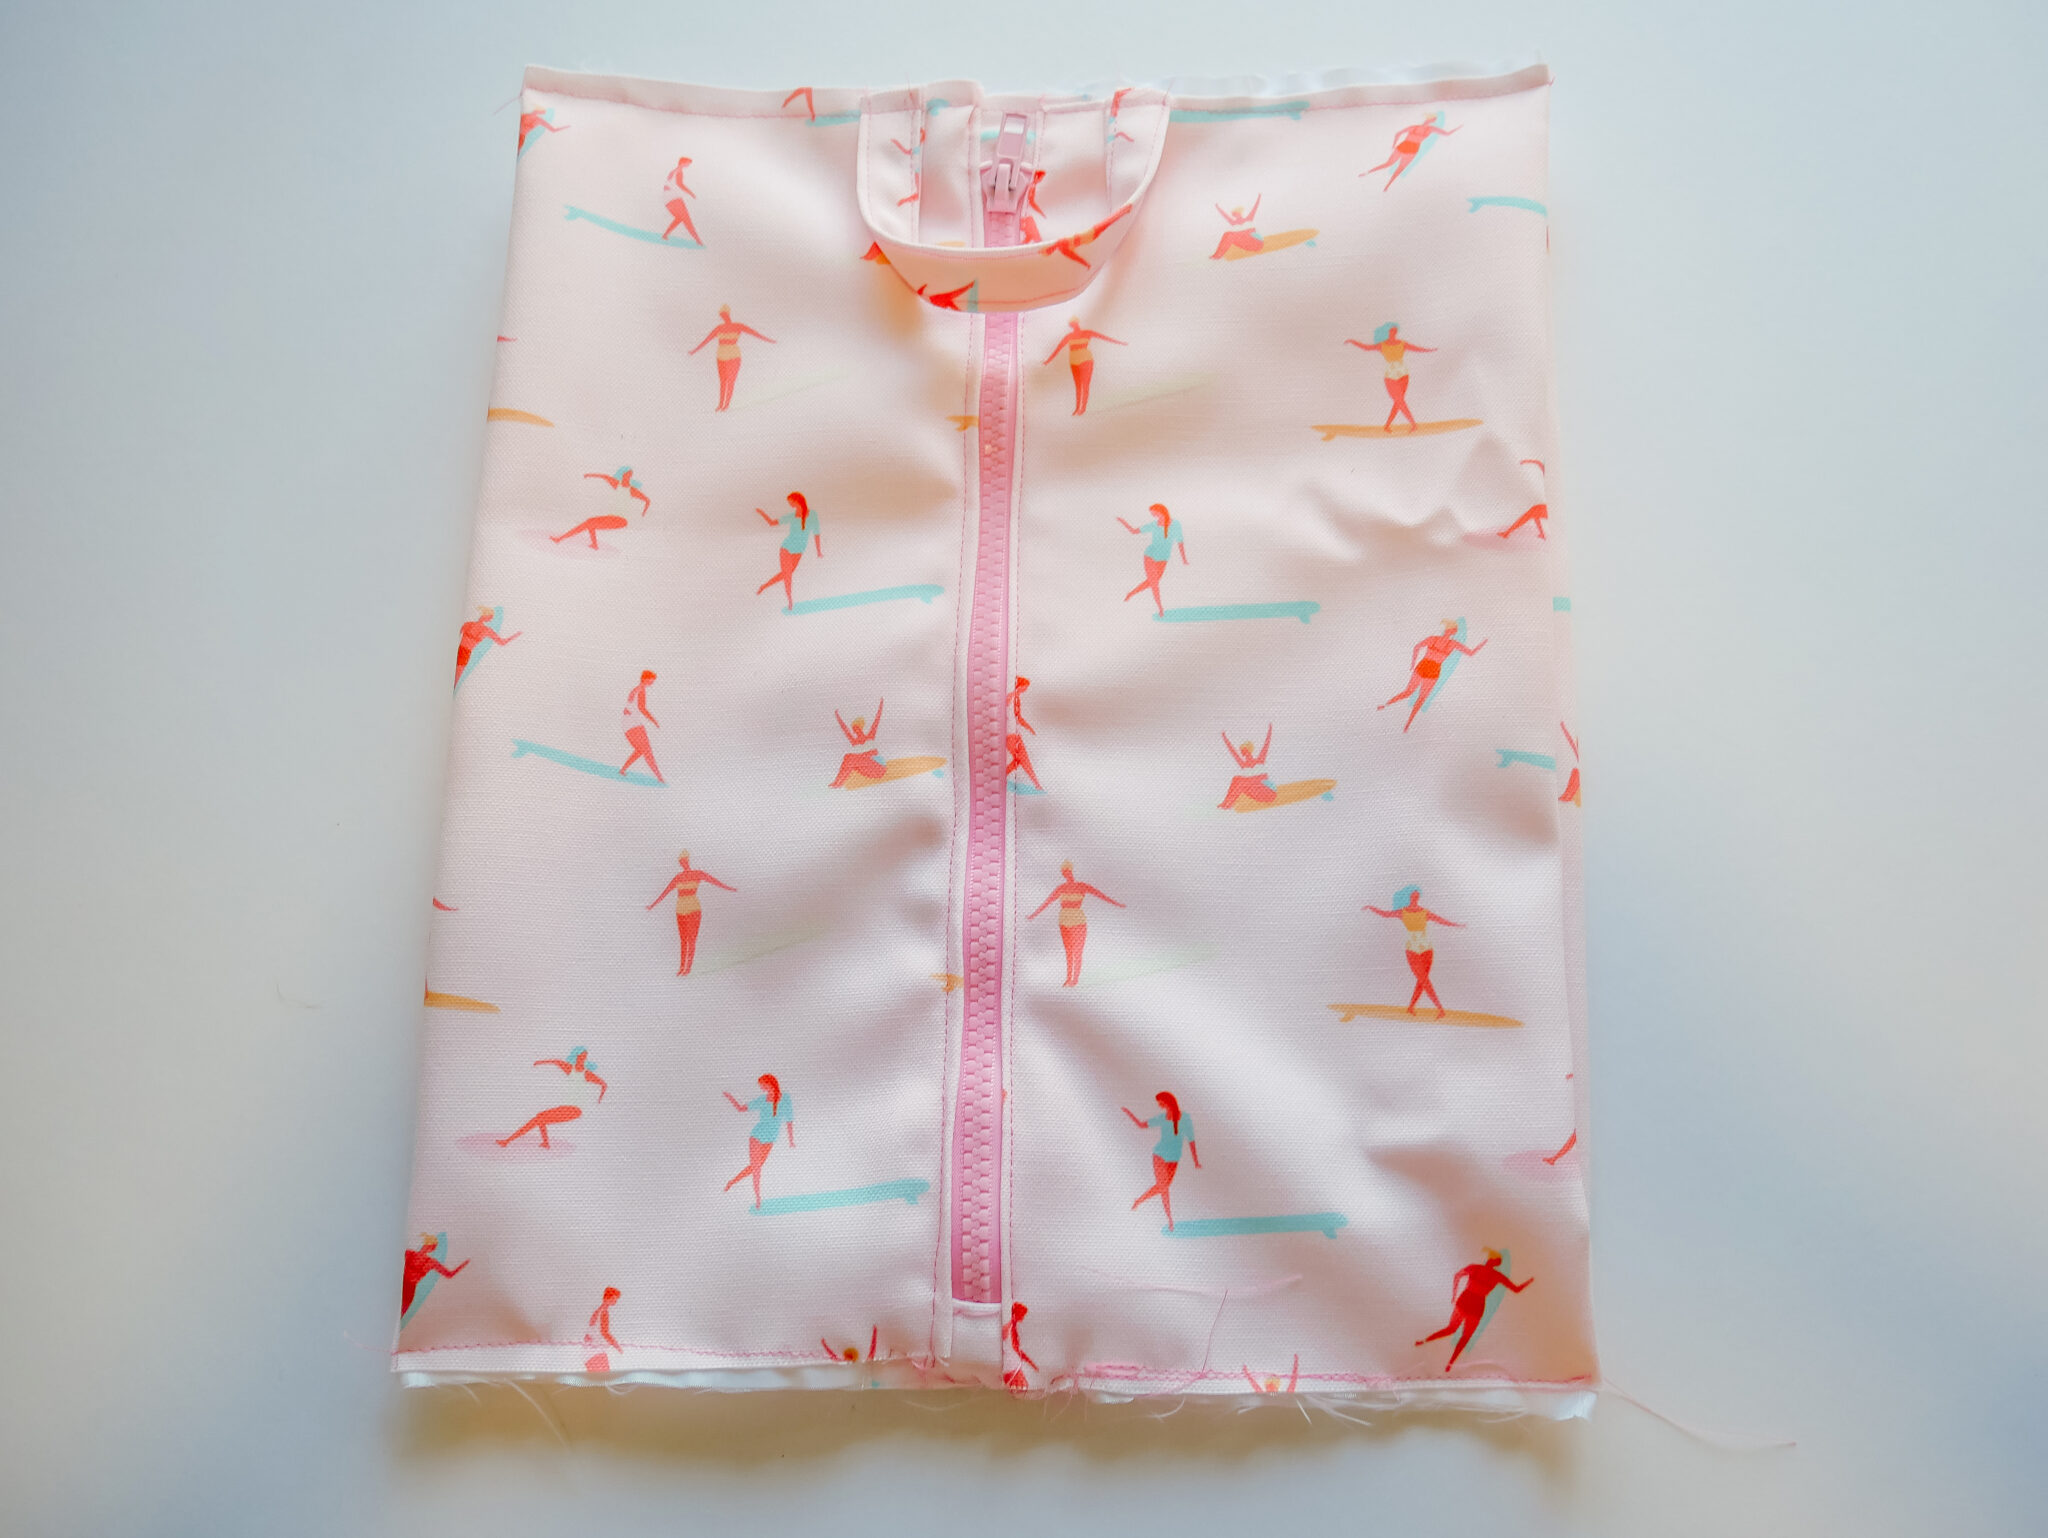
- 1 yard (40”) of Recycled Canvas (we used Girls Surfers Pink Small Scale by tasiania)
- 1/2 yard (20”) of lining material (see note below)
- 10” (25 cm) zipper
- Measuring tape
- Fabric marker or pen
- Fabric scissors or rotary blade
- Fabric clips or pins (fabric clips recommended)
What is Polyurethane Laminate?
1. Cut Out Your Pieces
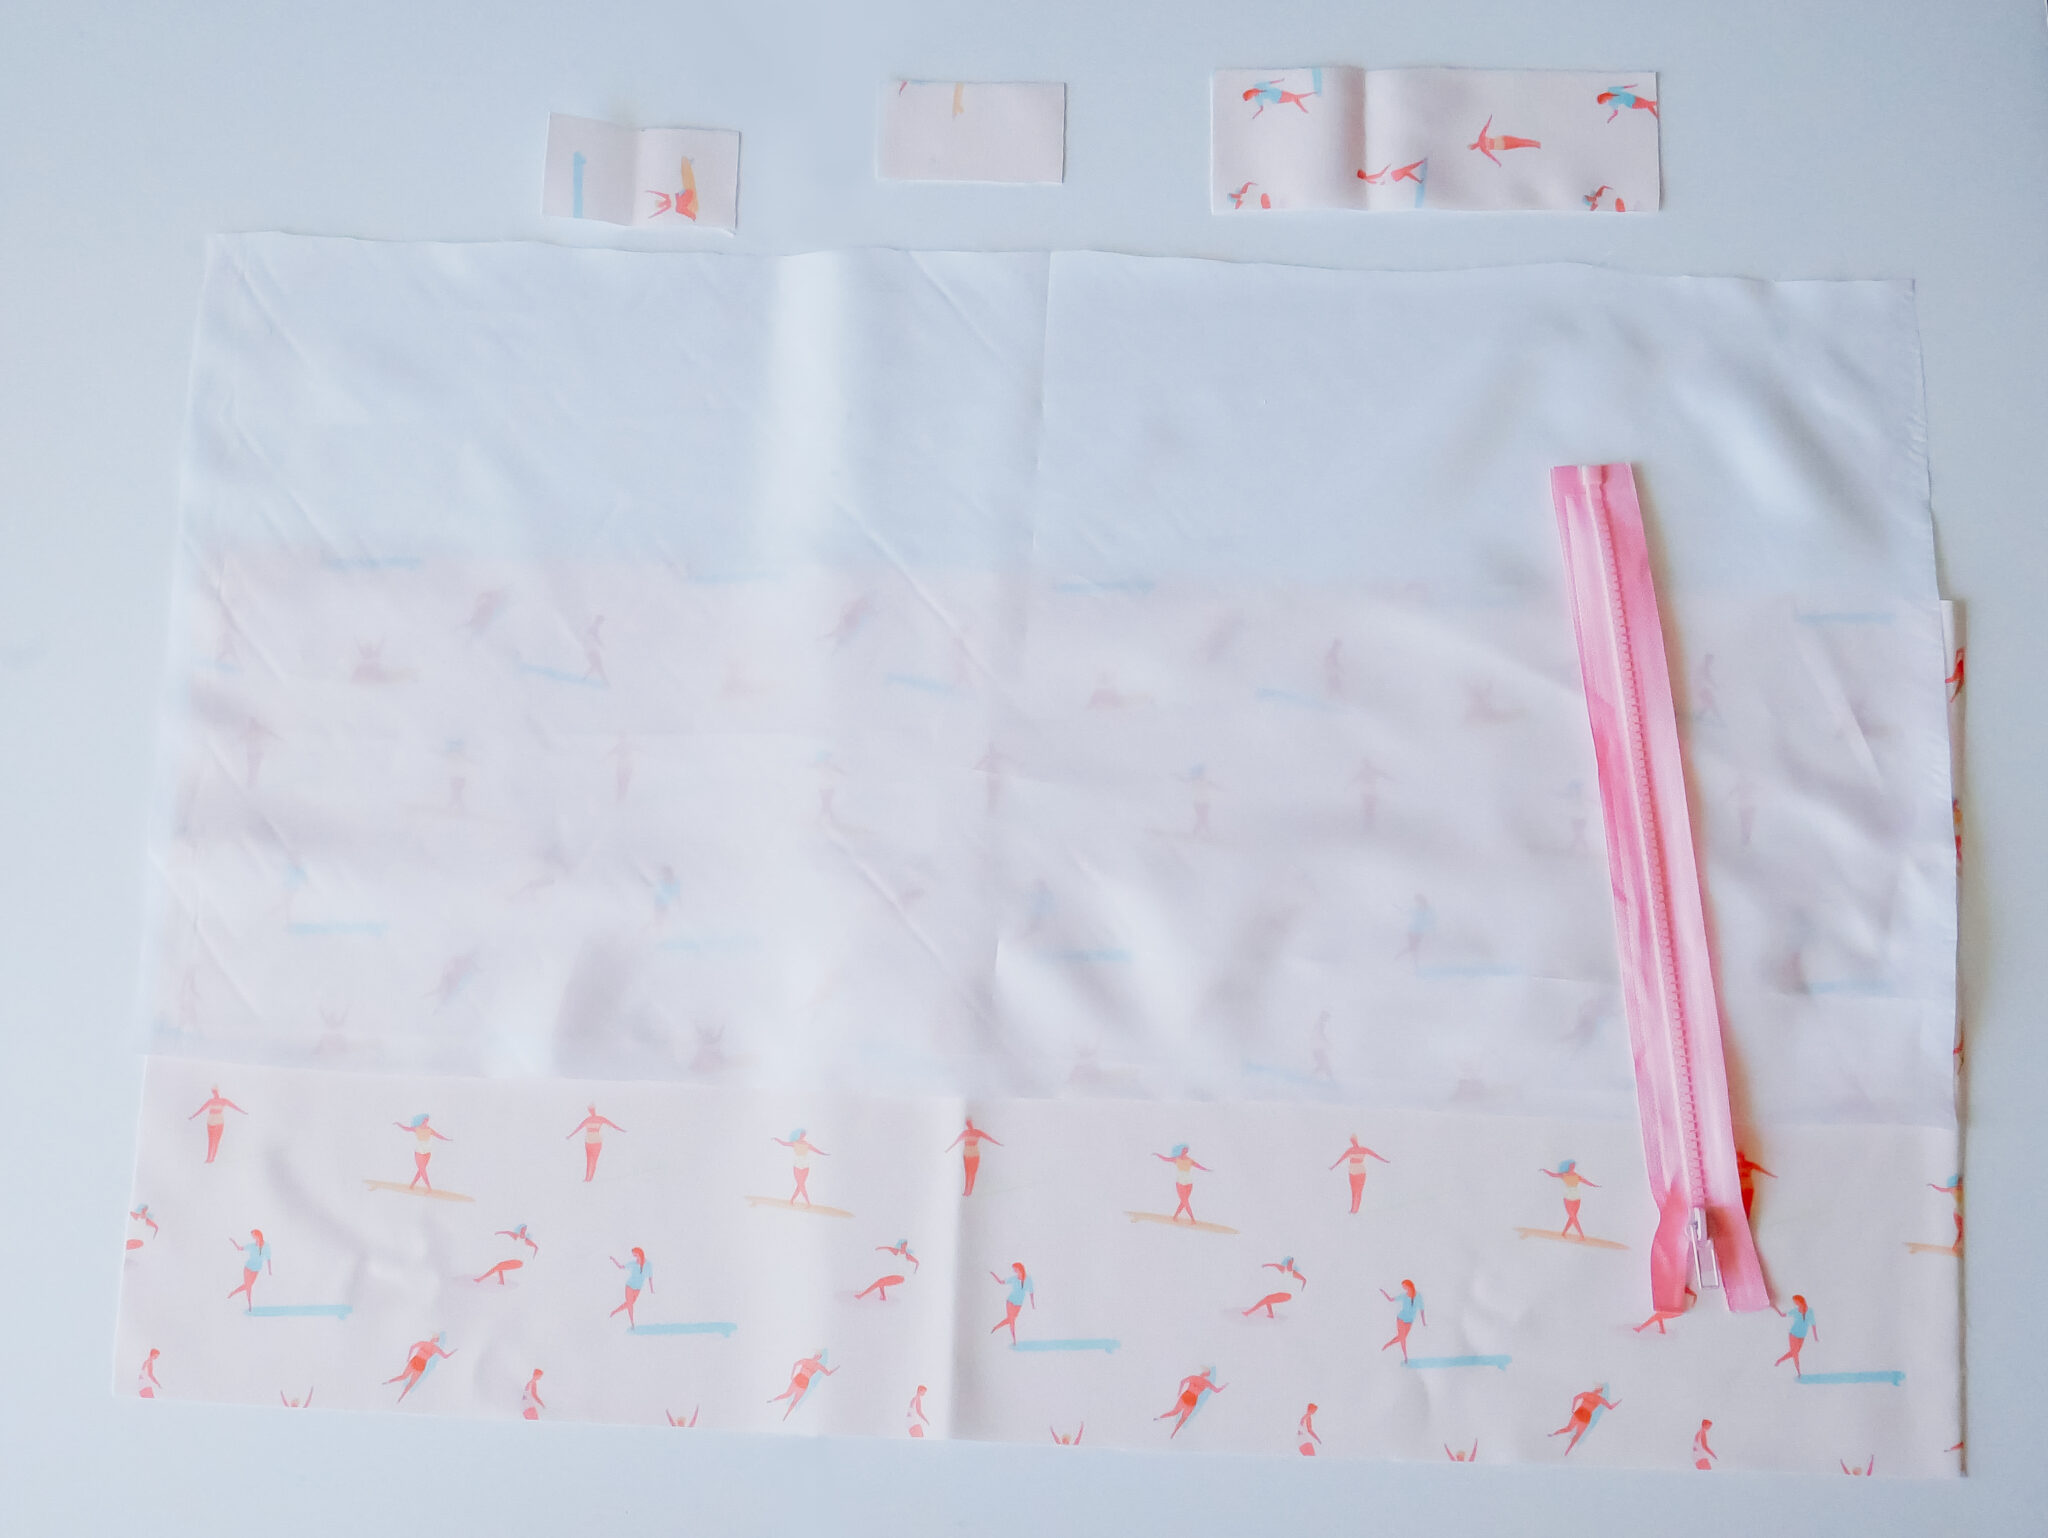
Cut two rectangles measuring 12”x 27” (69 cm x 30 cm)—one in your canvas fabric and one in your lining fabric. Next, cut one rectangle measuring 7” x 2” (6 cm x 18 cm) and two rectangles measuring 1.5” x 3” (4 cm x 7.5 cm) from your canvas fabric.
2. Attach Zipper Ends
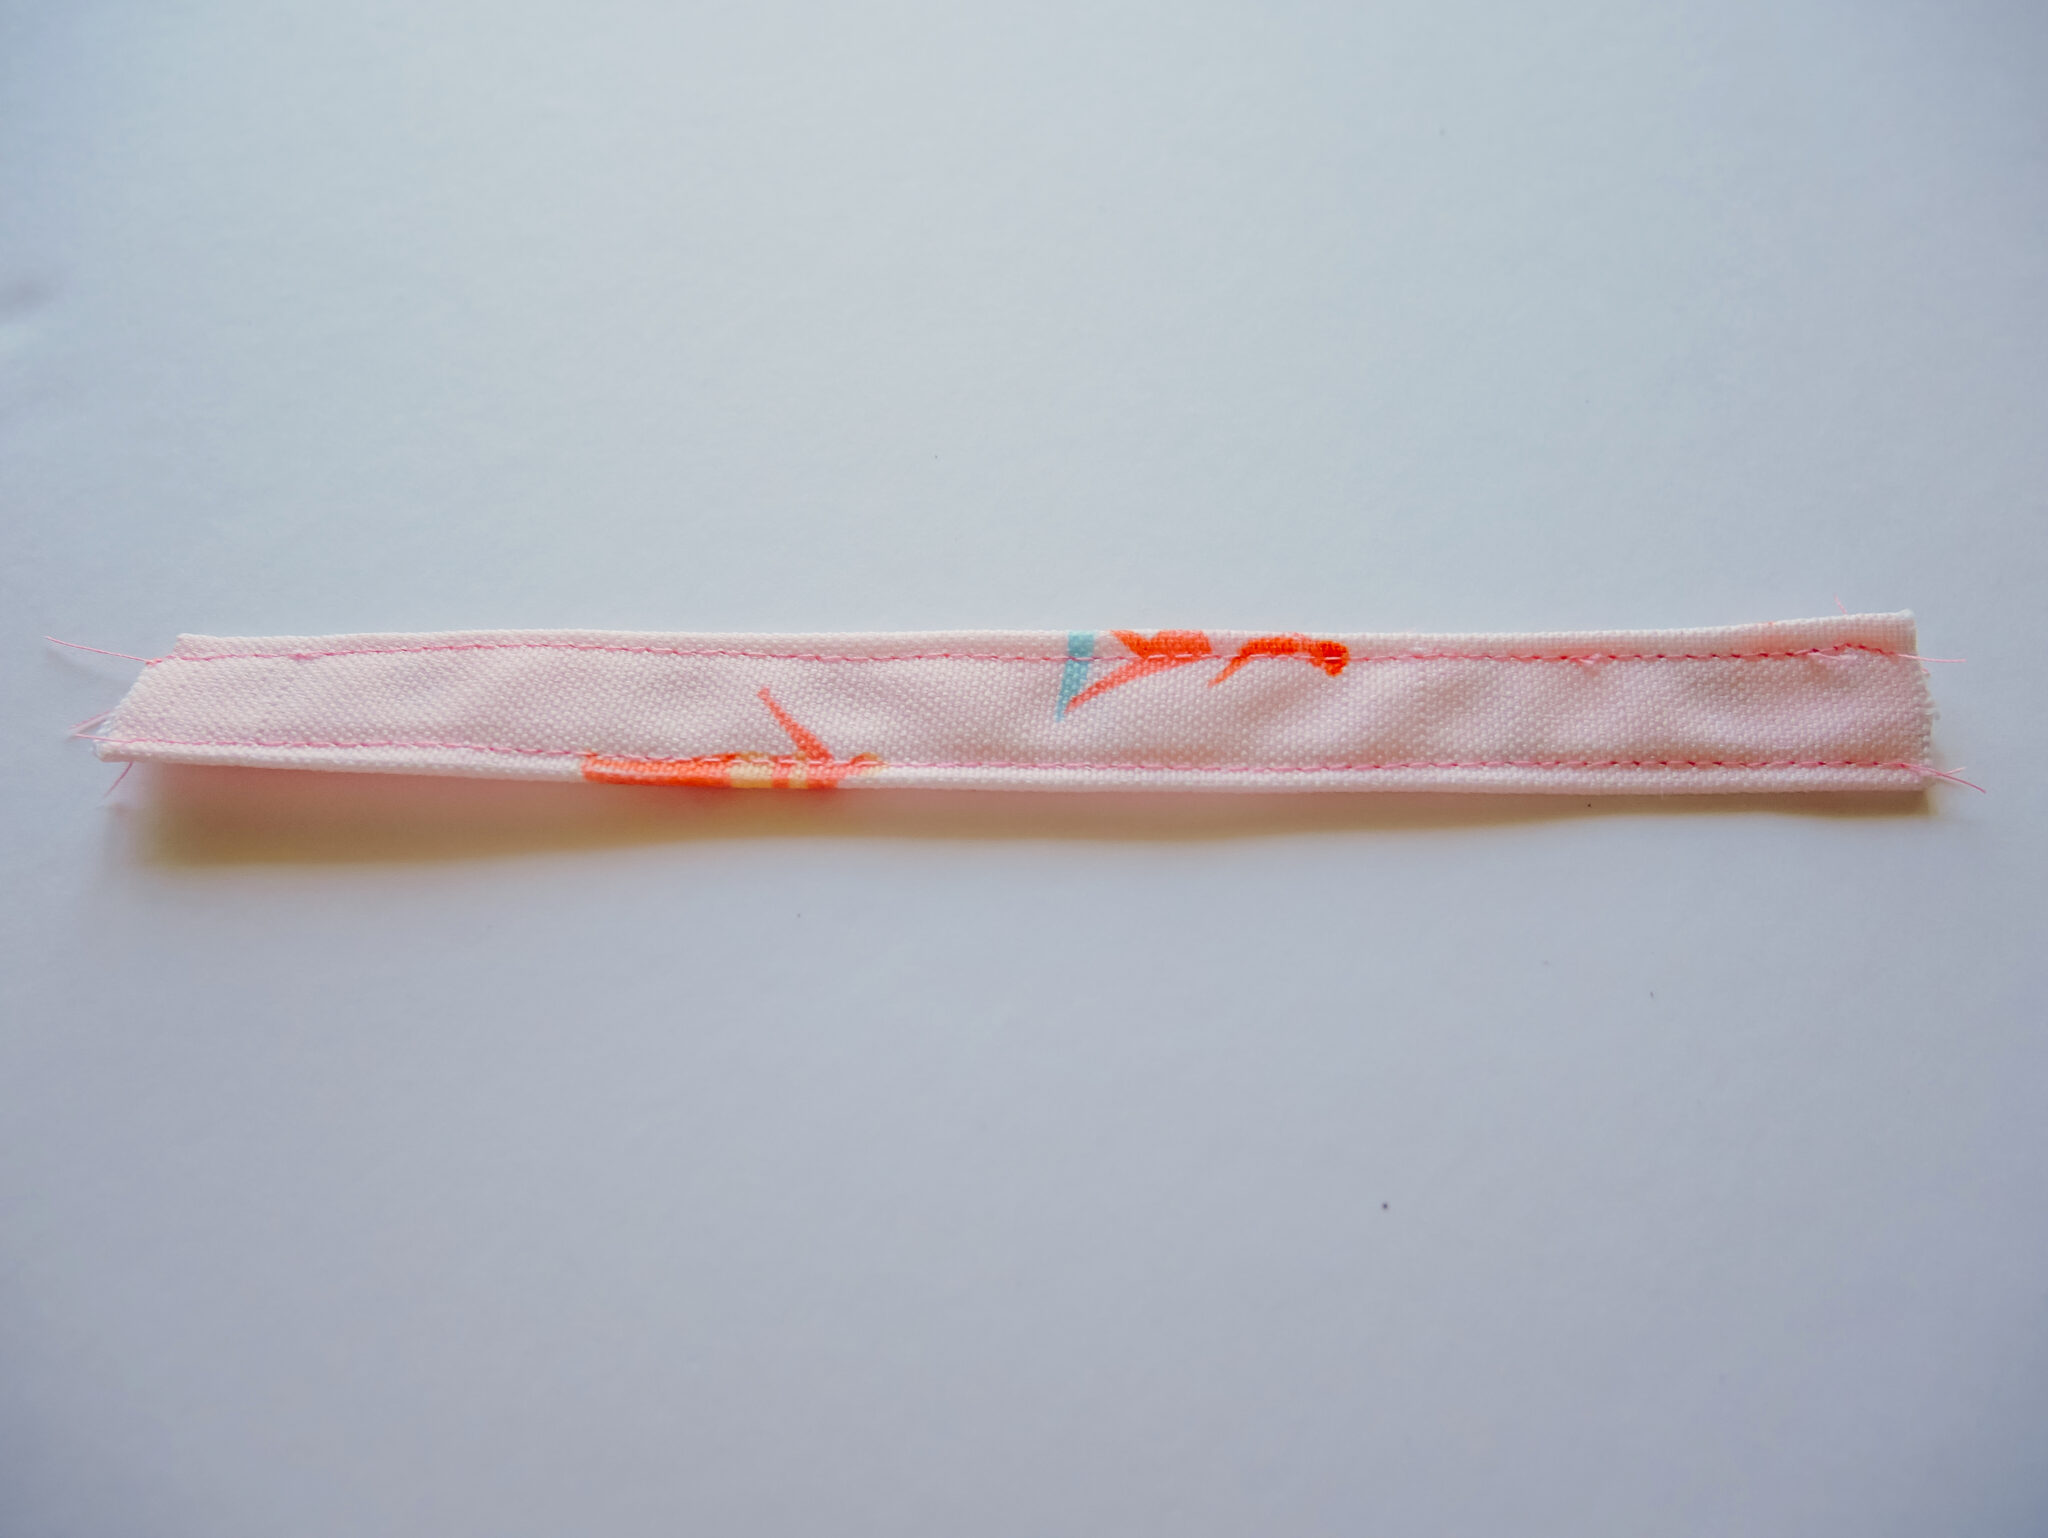
The two tiny fabric rectangles at either end of the zipper are zipper ends. We are going to attach them to each end of the zipper to give us extra room to work with when we French seam the bag closed later.
Take your zipper and trim down the ends by 1/4” (0.6 cm). Then fold one fabric rectangle in half, right sides together, around the end of the zipper. Stitch along the folded edge.
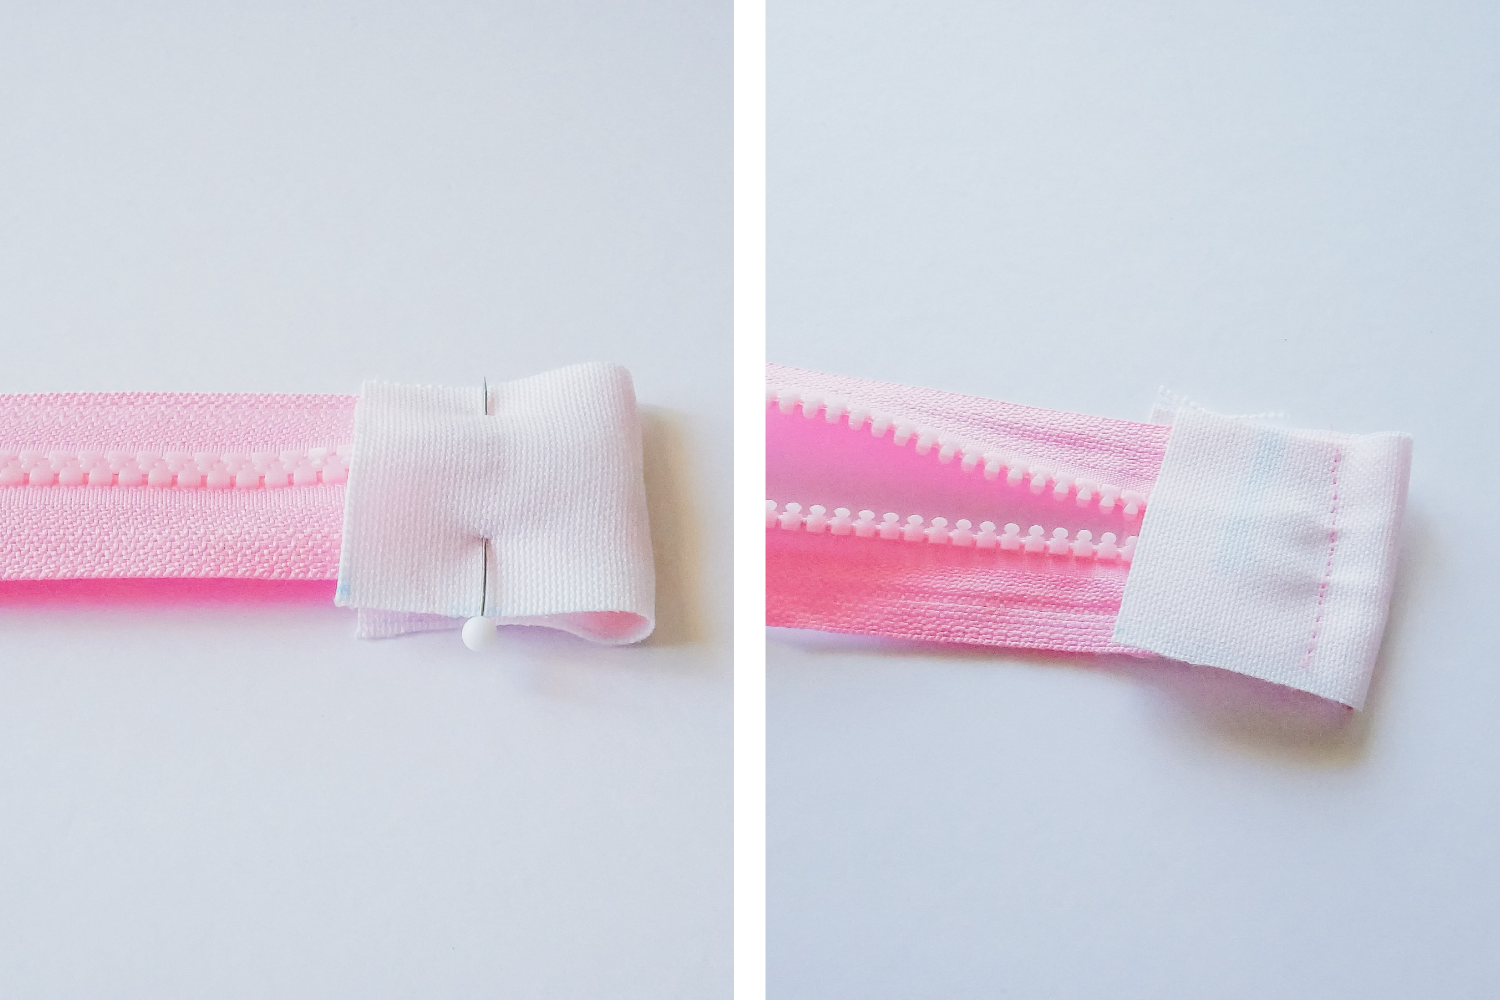
Fold the fabric back so the loose ends meet, wrong sides together, and topstitch along the new folded edge.
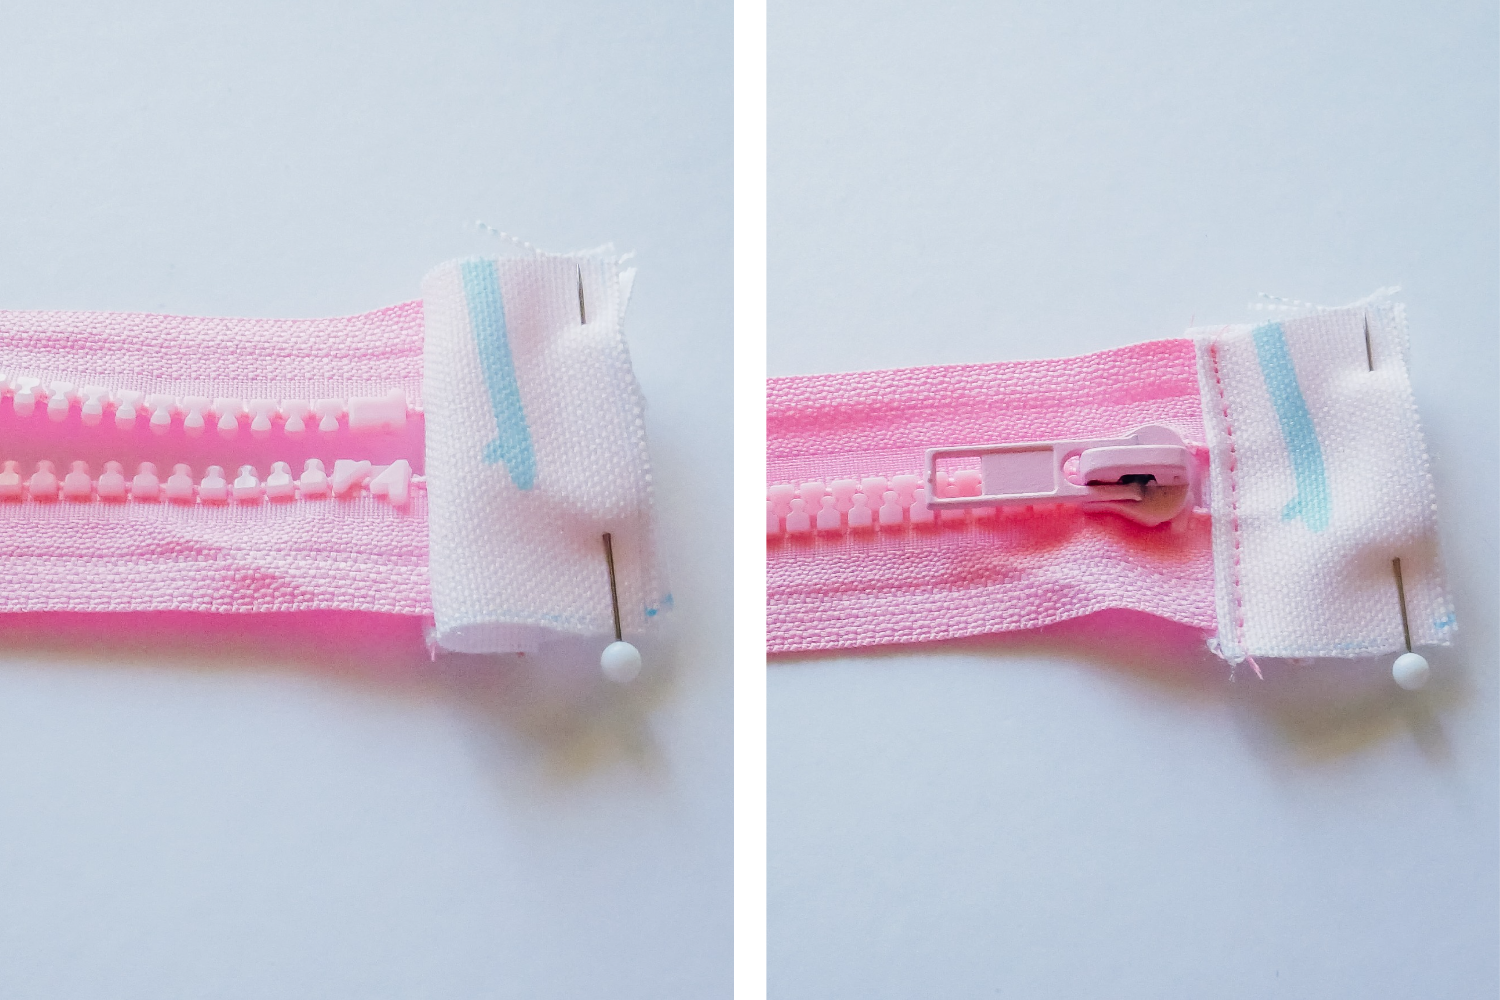
Repeat for the other end of the zipper.
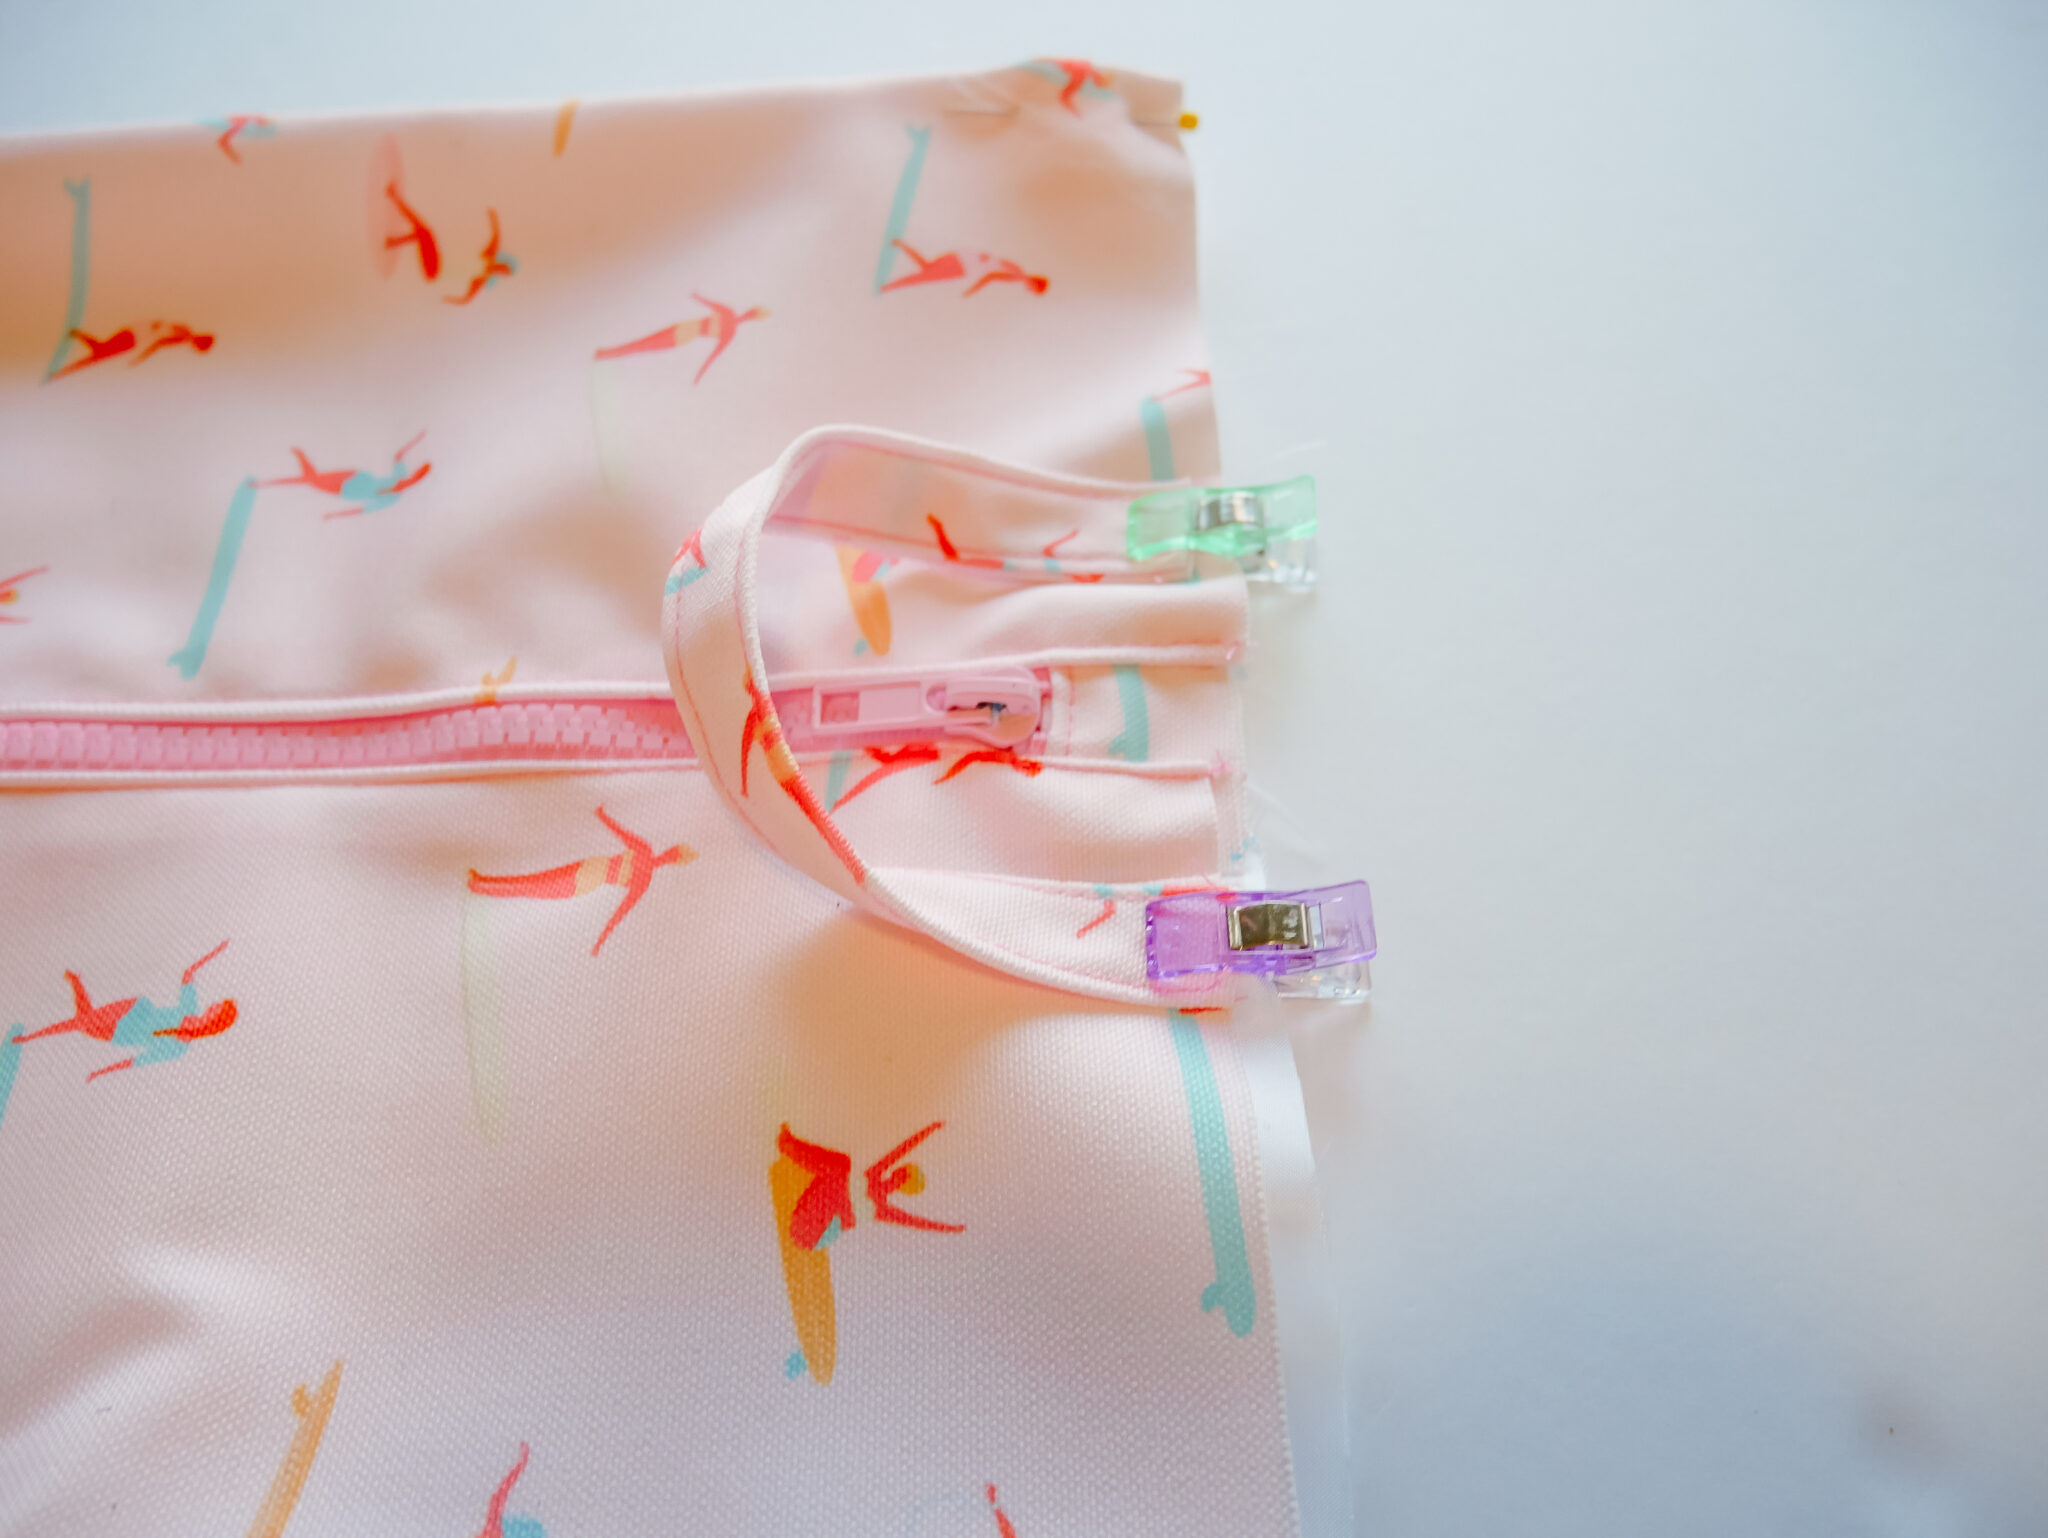
3. Make the Handle
Take your 7” x 2” rectangle and fold in half lengthways, wrong sides together. Press.
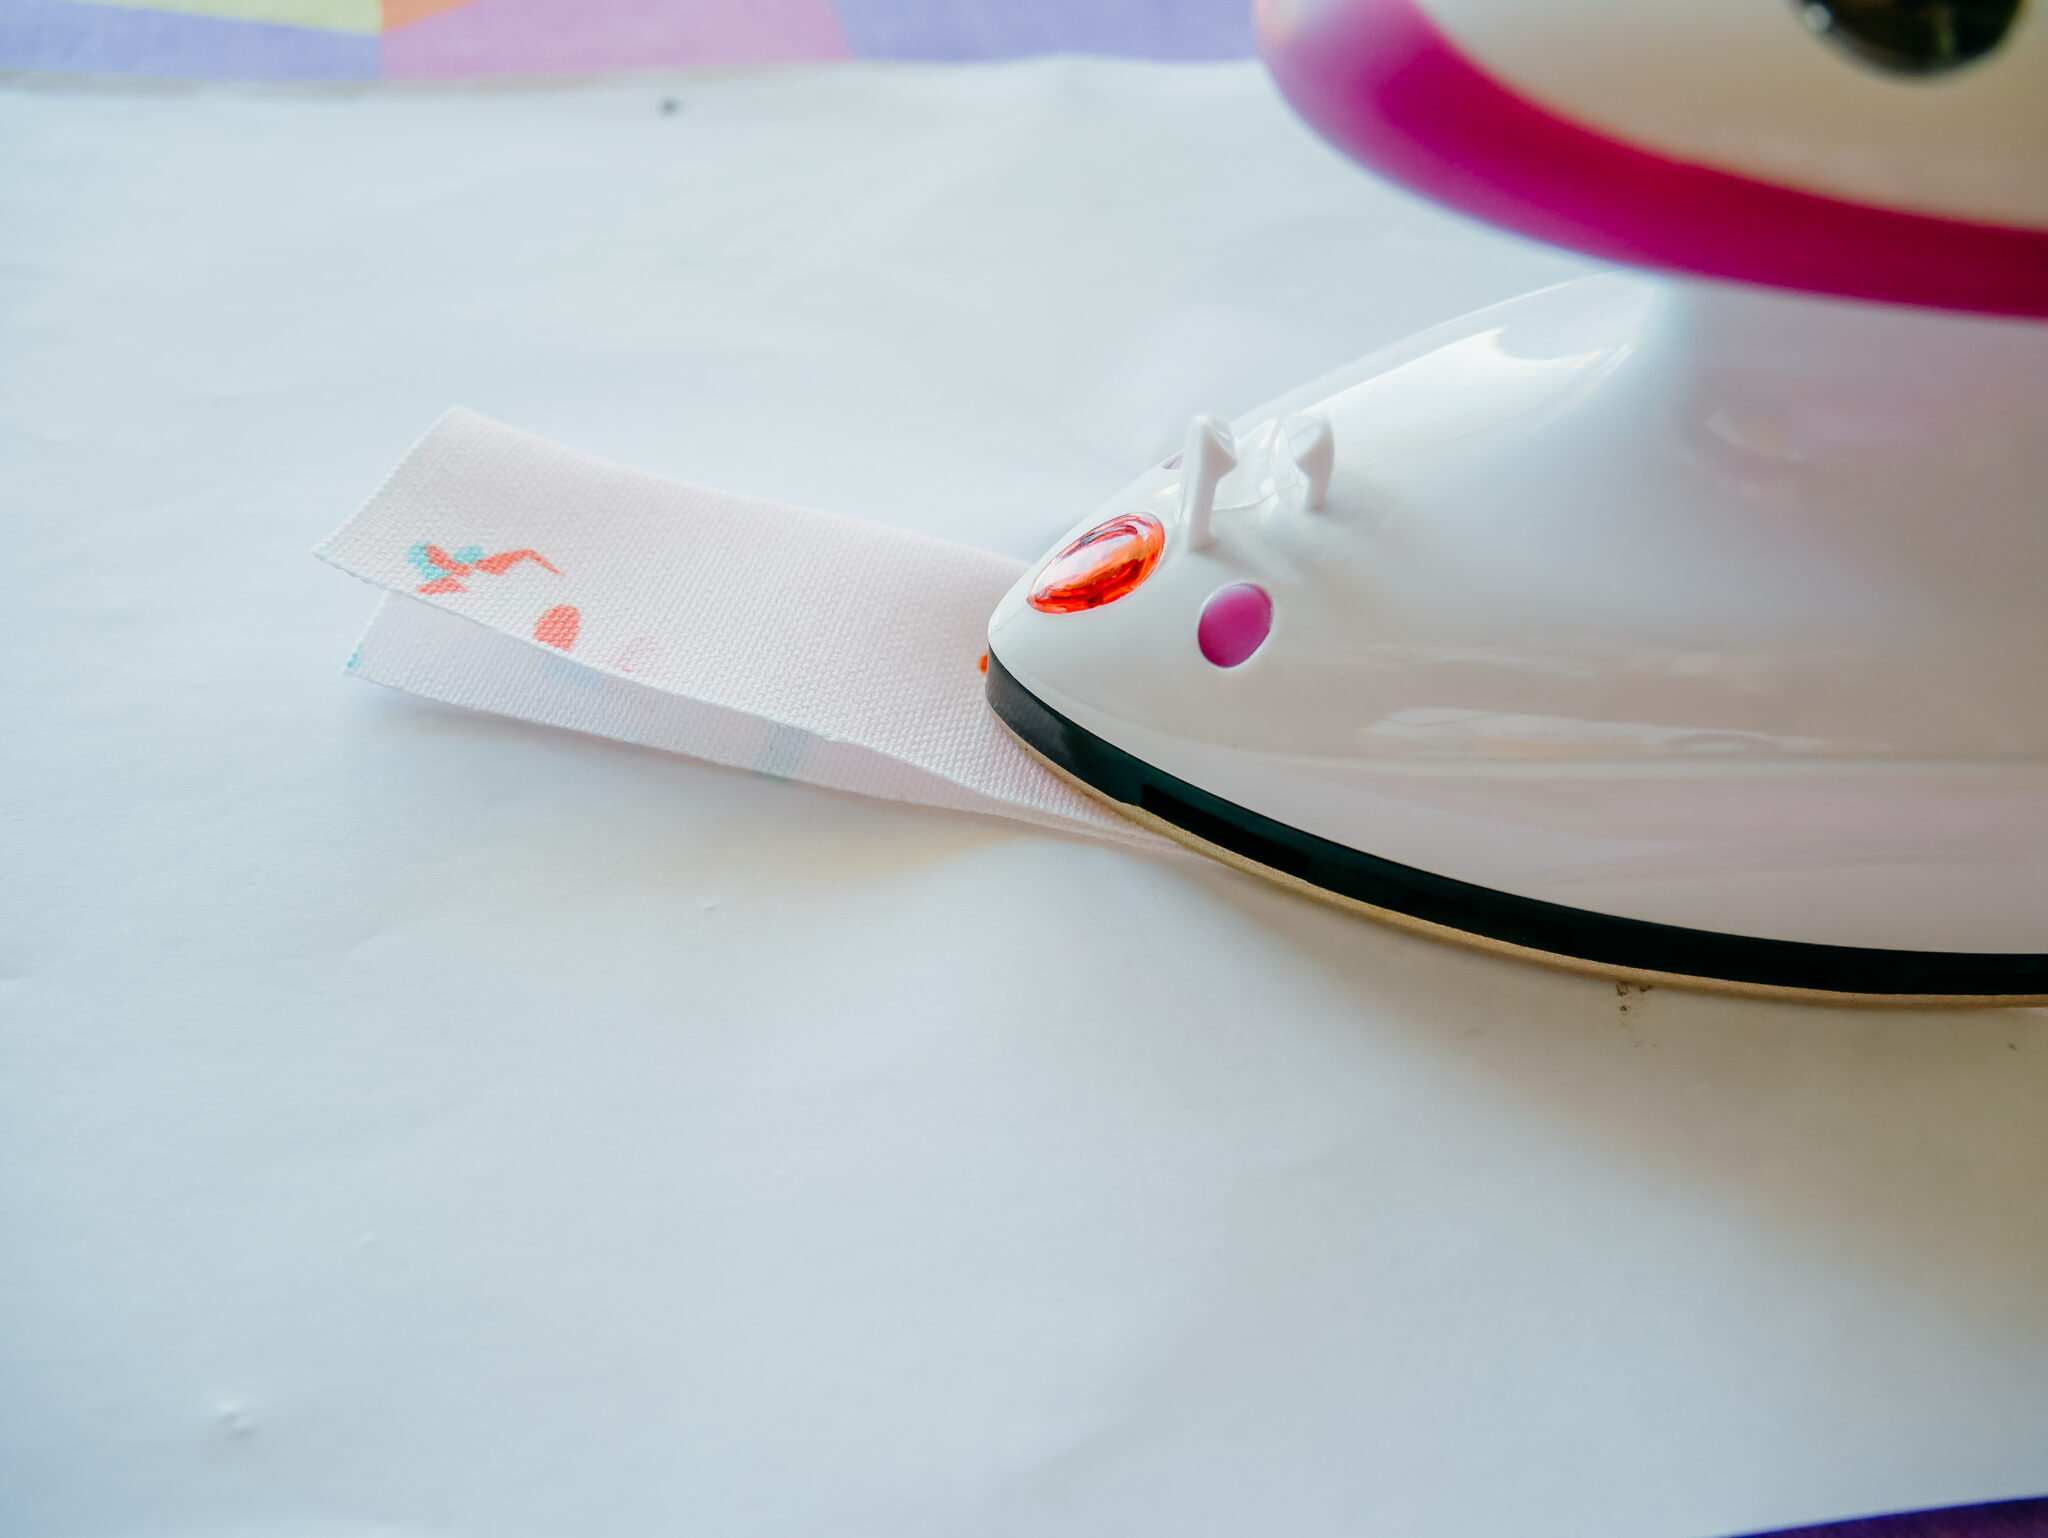
Unfold and then fold in the long edges to meet this center crease. Press.
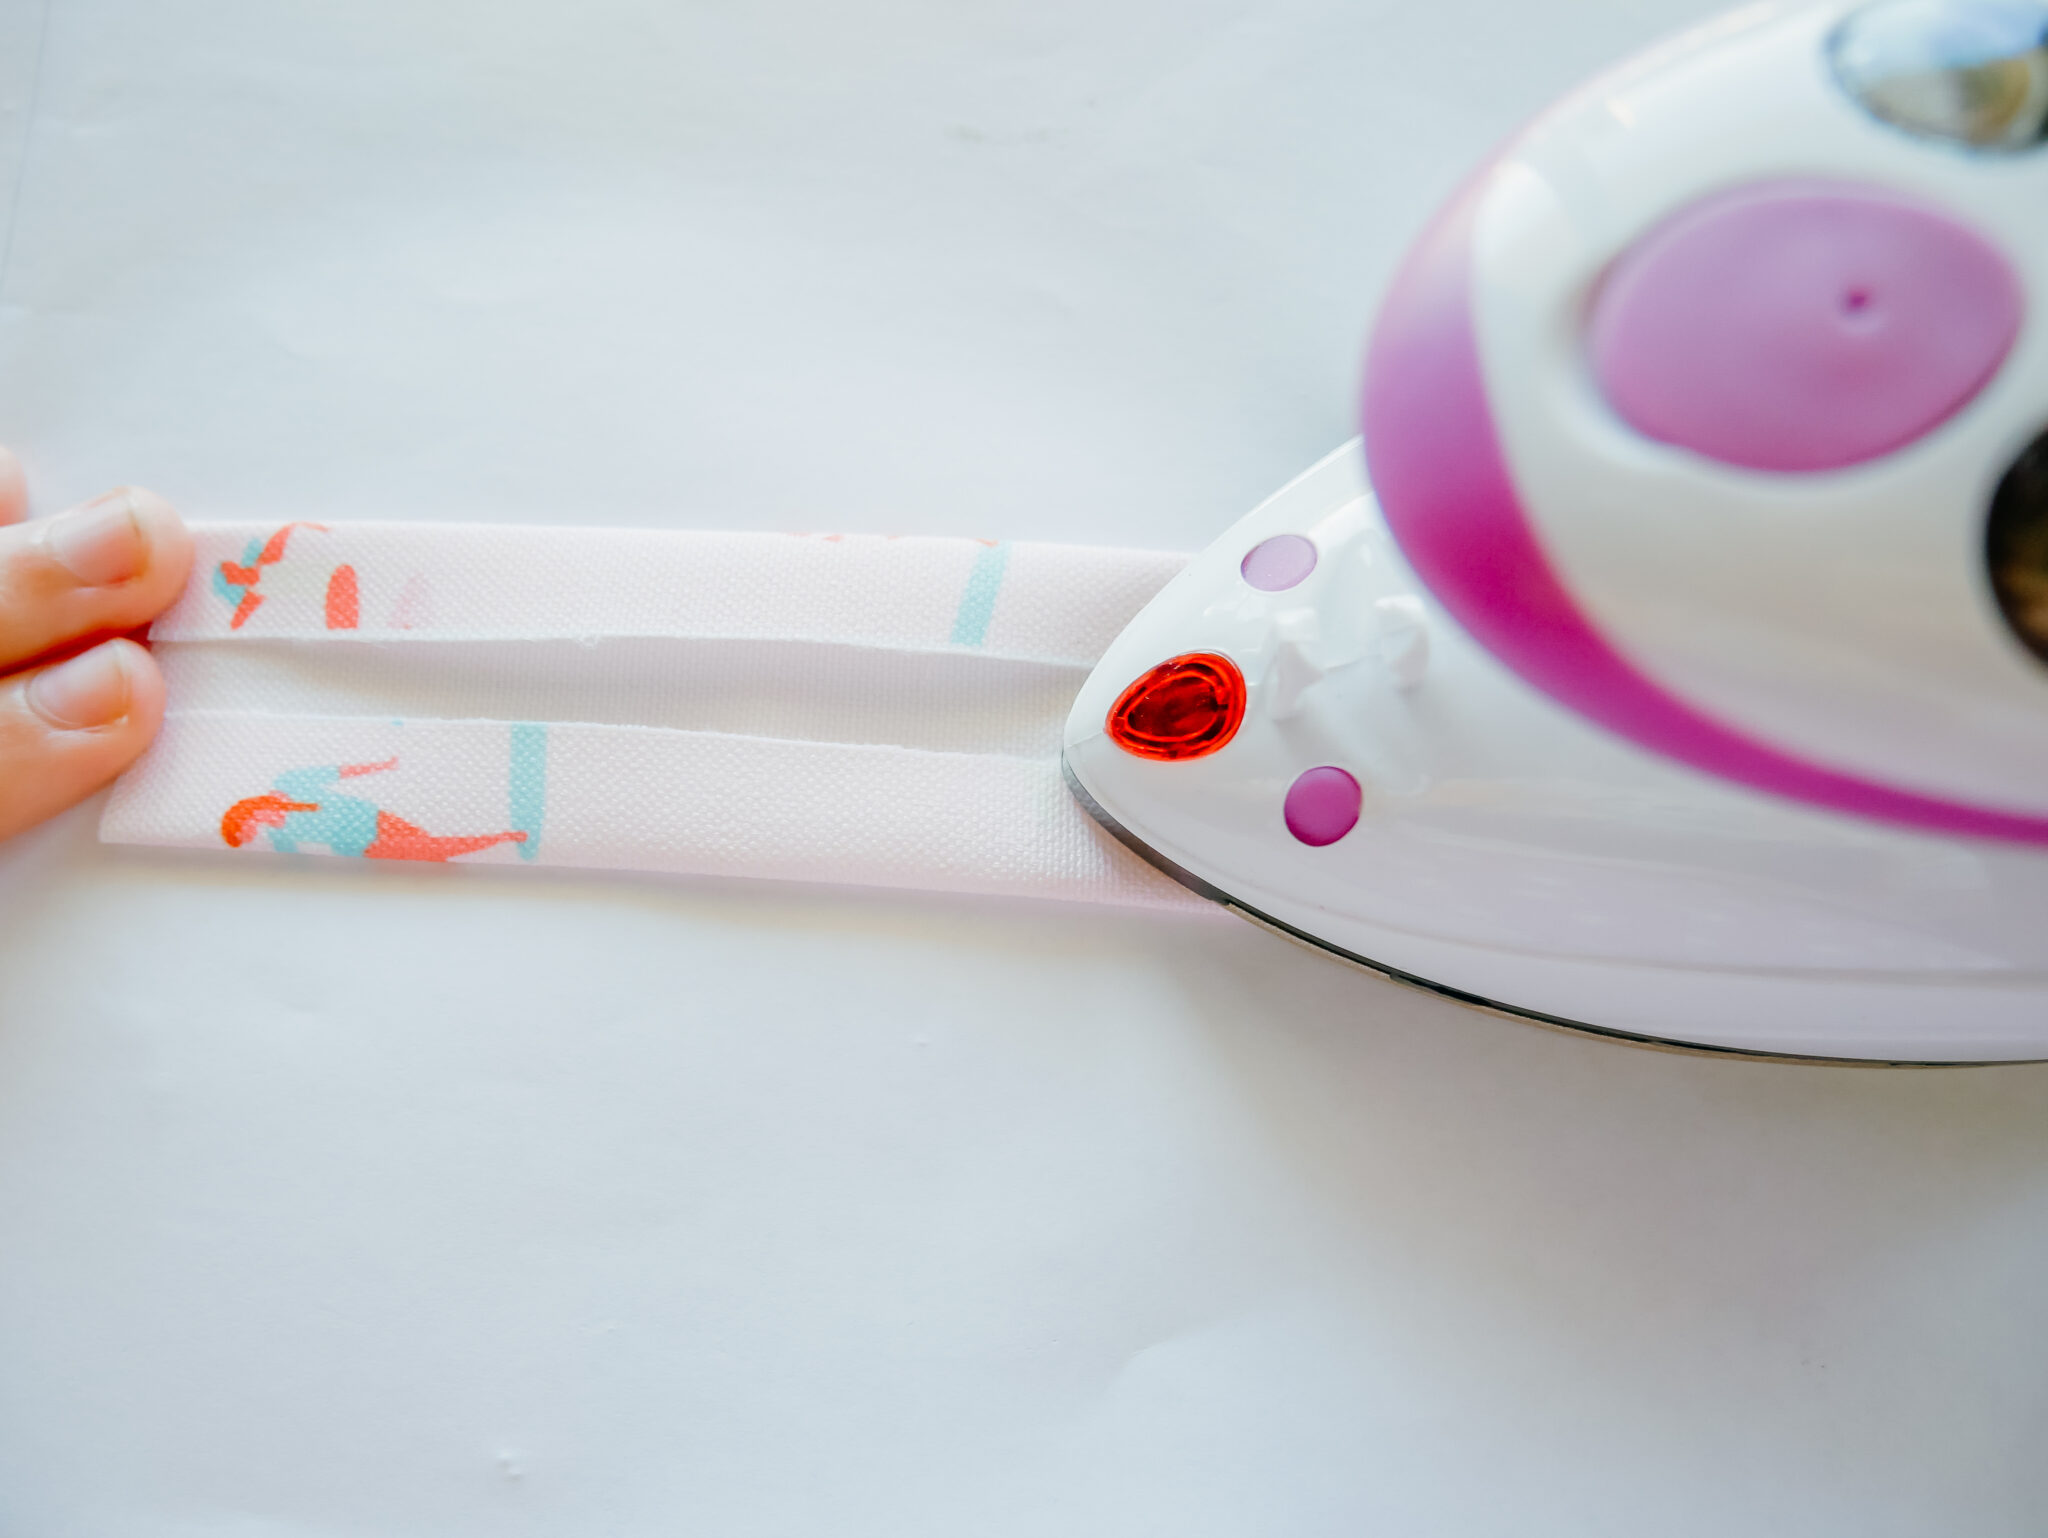
Fold in half again and press.
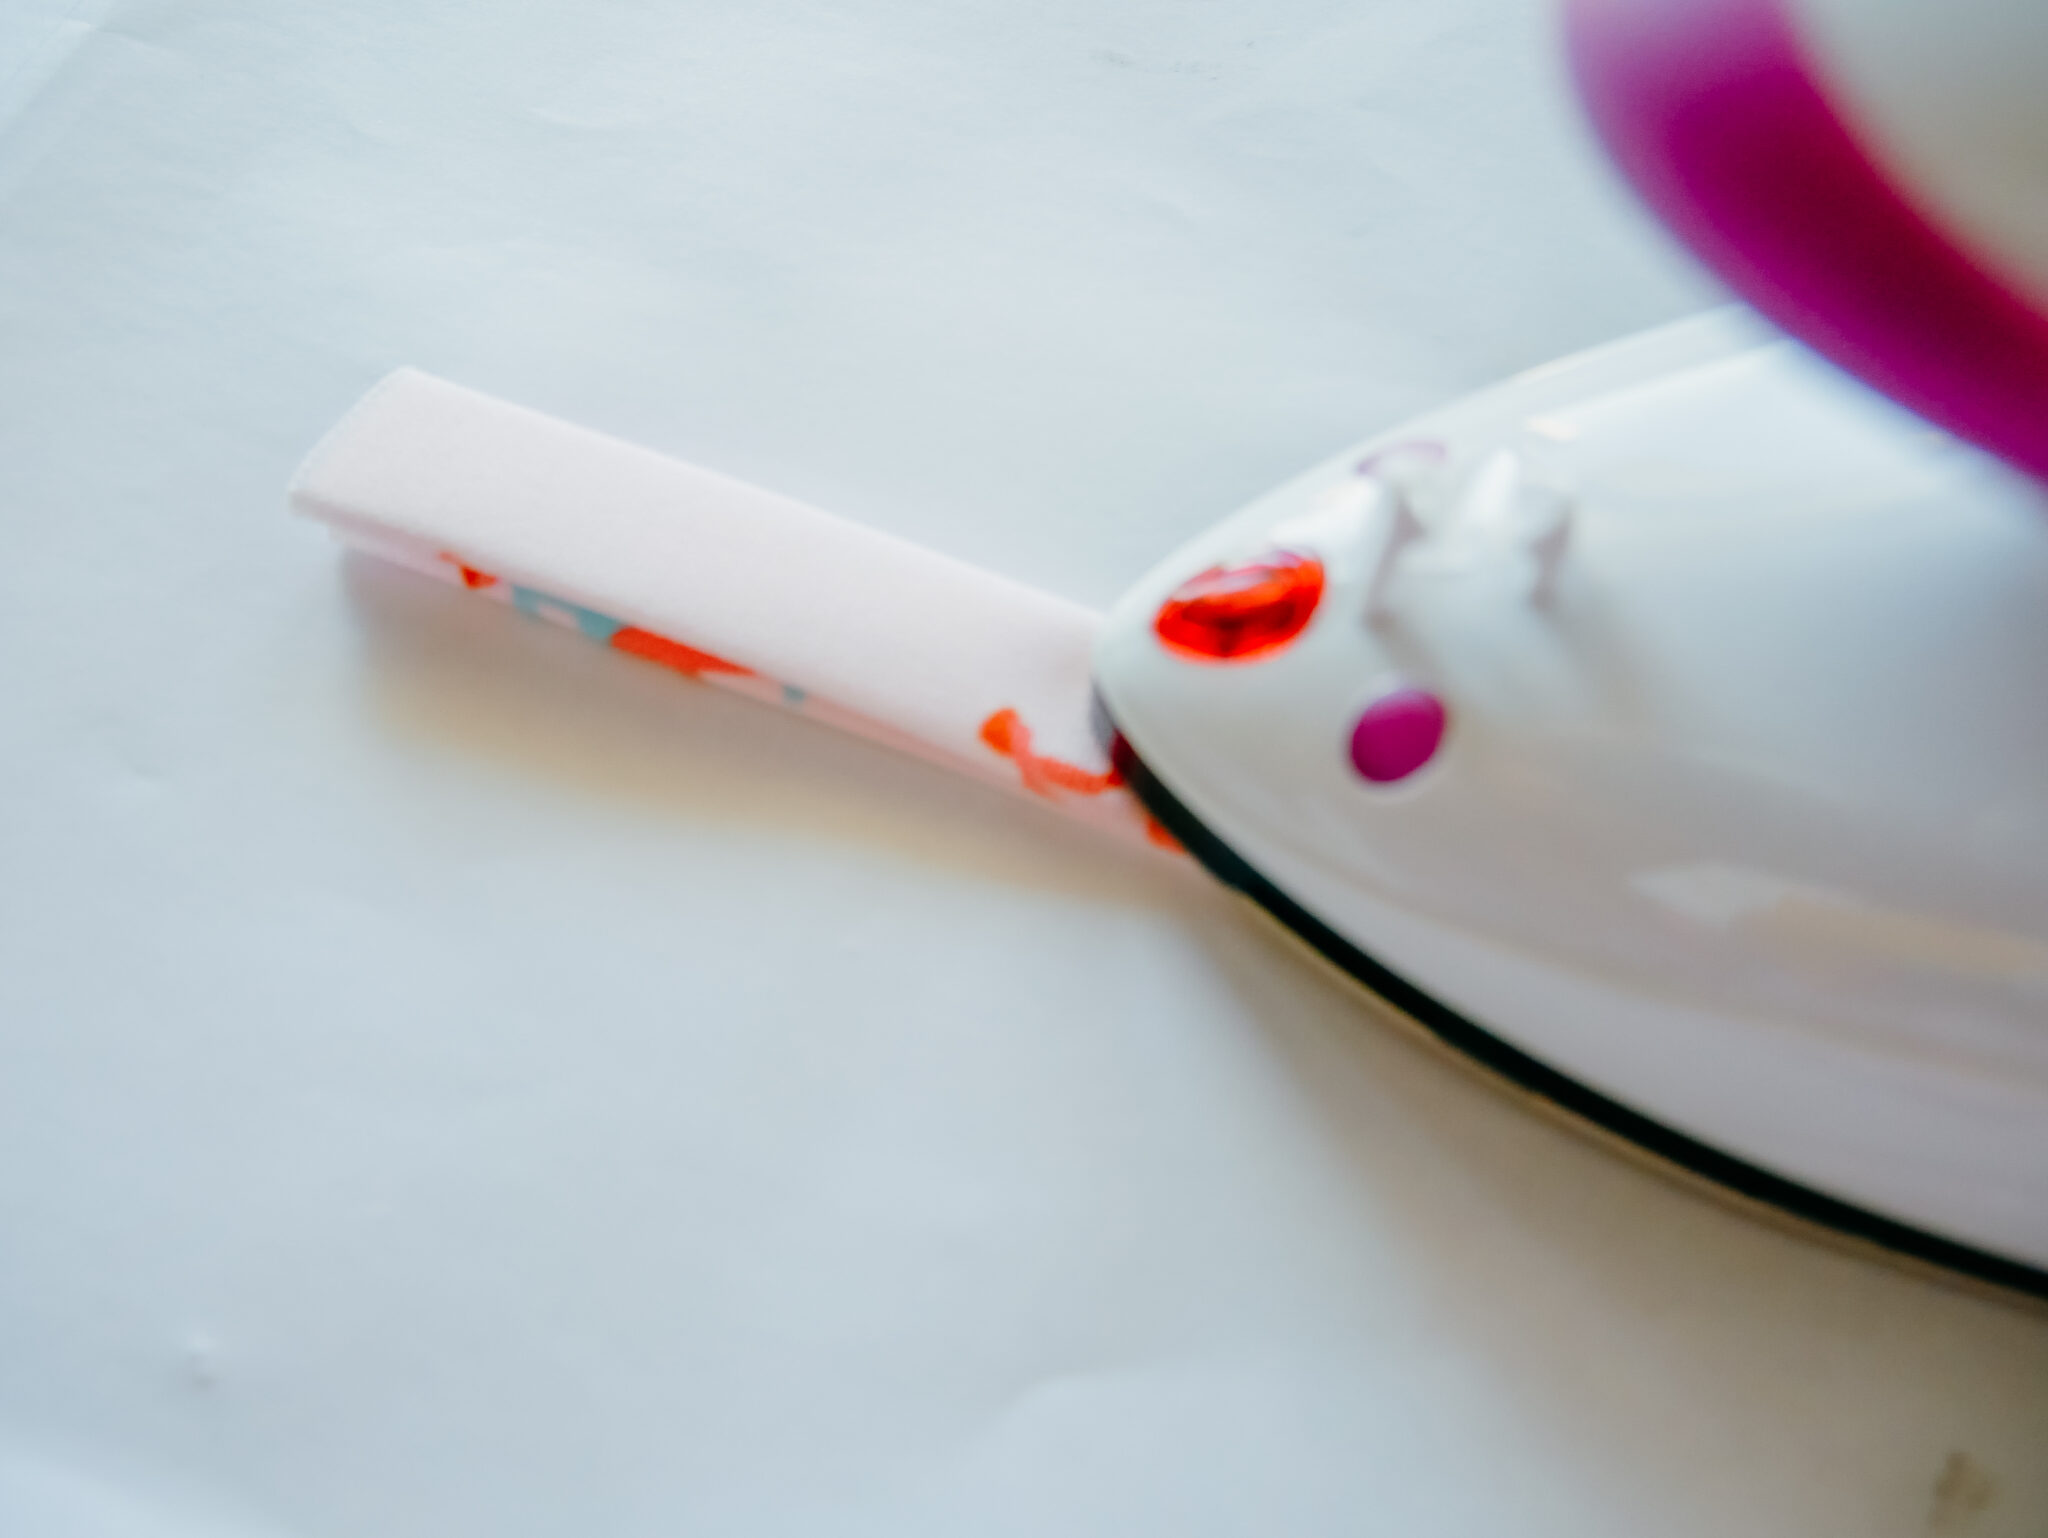
Topstitch down along both edges.
Set the handle aside.
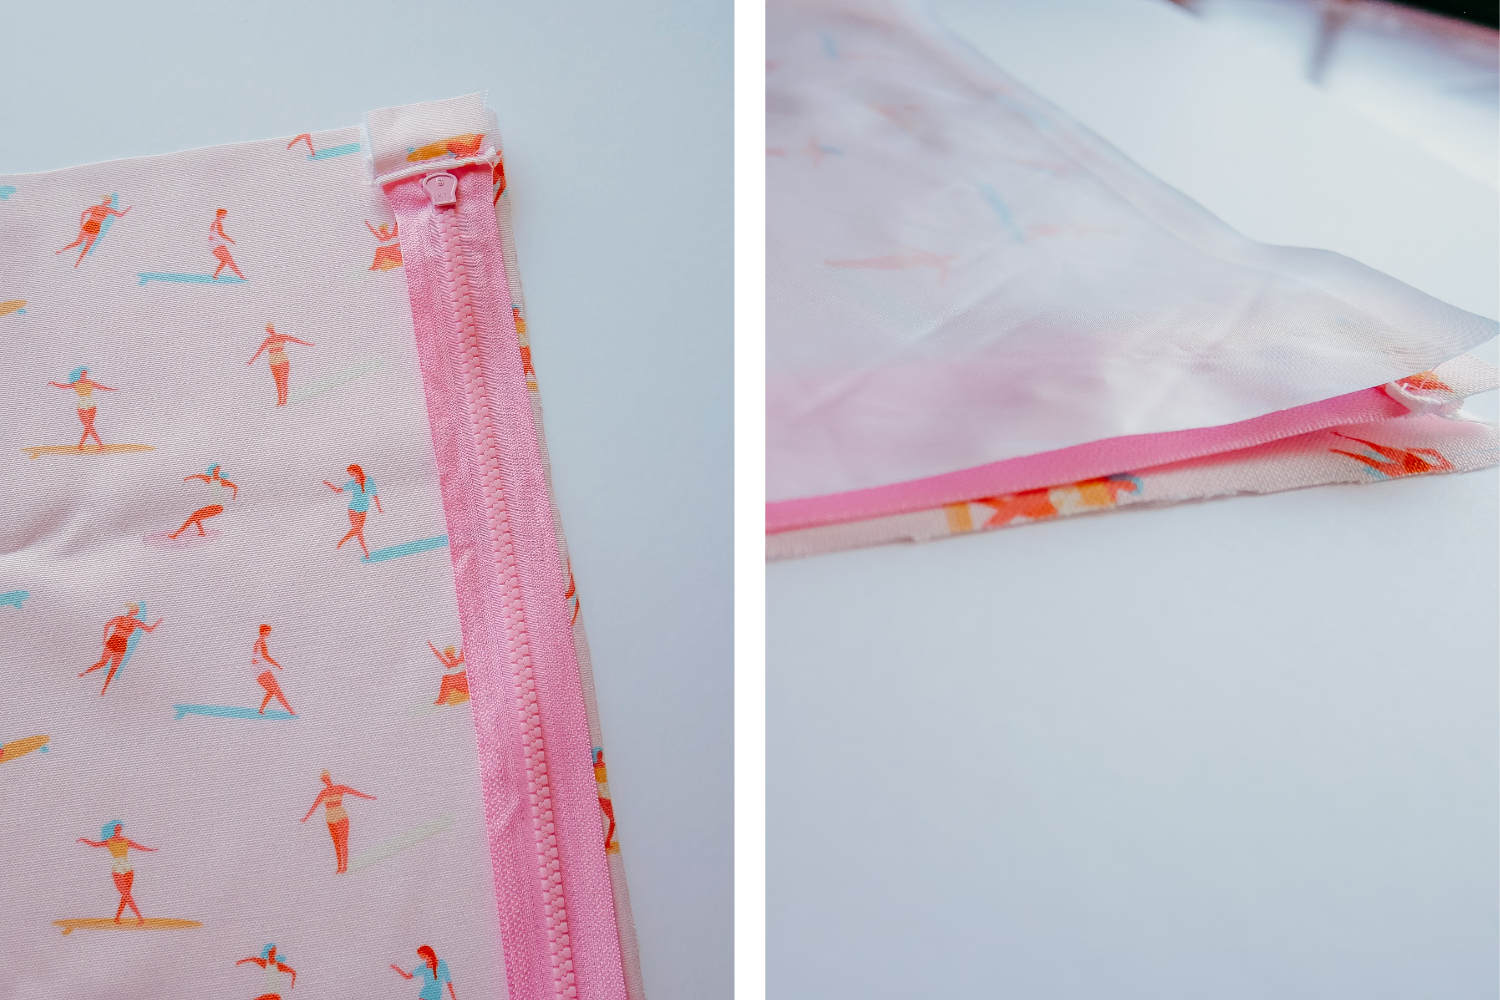
4. Attach Zipper to Fabric
Lay your large (12” x 27”) canvas rectangle right side facing up. Place your zipper atop it right side facing down, aligning edges. Place your lining material atop this, right side facing down, making a sandwich with the zipper in the middle.
Pro tip:
Using wonder clips to hold the fabric together and a zipper foot, stitch it all together. Turn and fold materials so that the canvas and lining are wrong sides together and then topstitch down along the zipper.
Align the other edges of your canvas and lining and zipper tape. Your canvas will end up folded one way and your lining folded the other to create the same right-sides sandwich configuration. Sew together along the zipper edge.
Open the zipper and manipulate the fabric so that the canvas and lining are sitting together, wrong sides facing. Topstitch along the zipper edge.

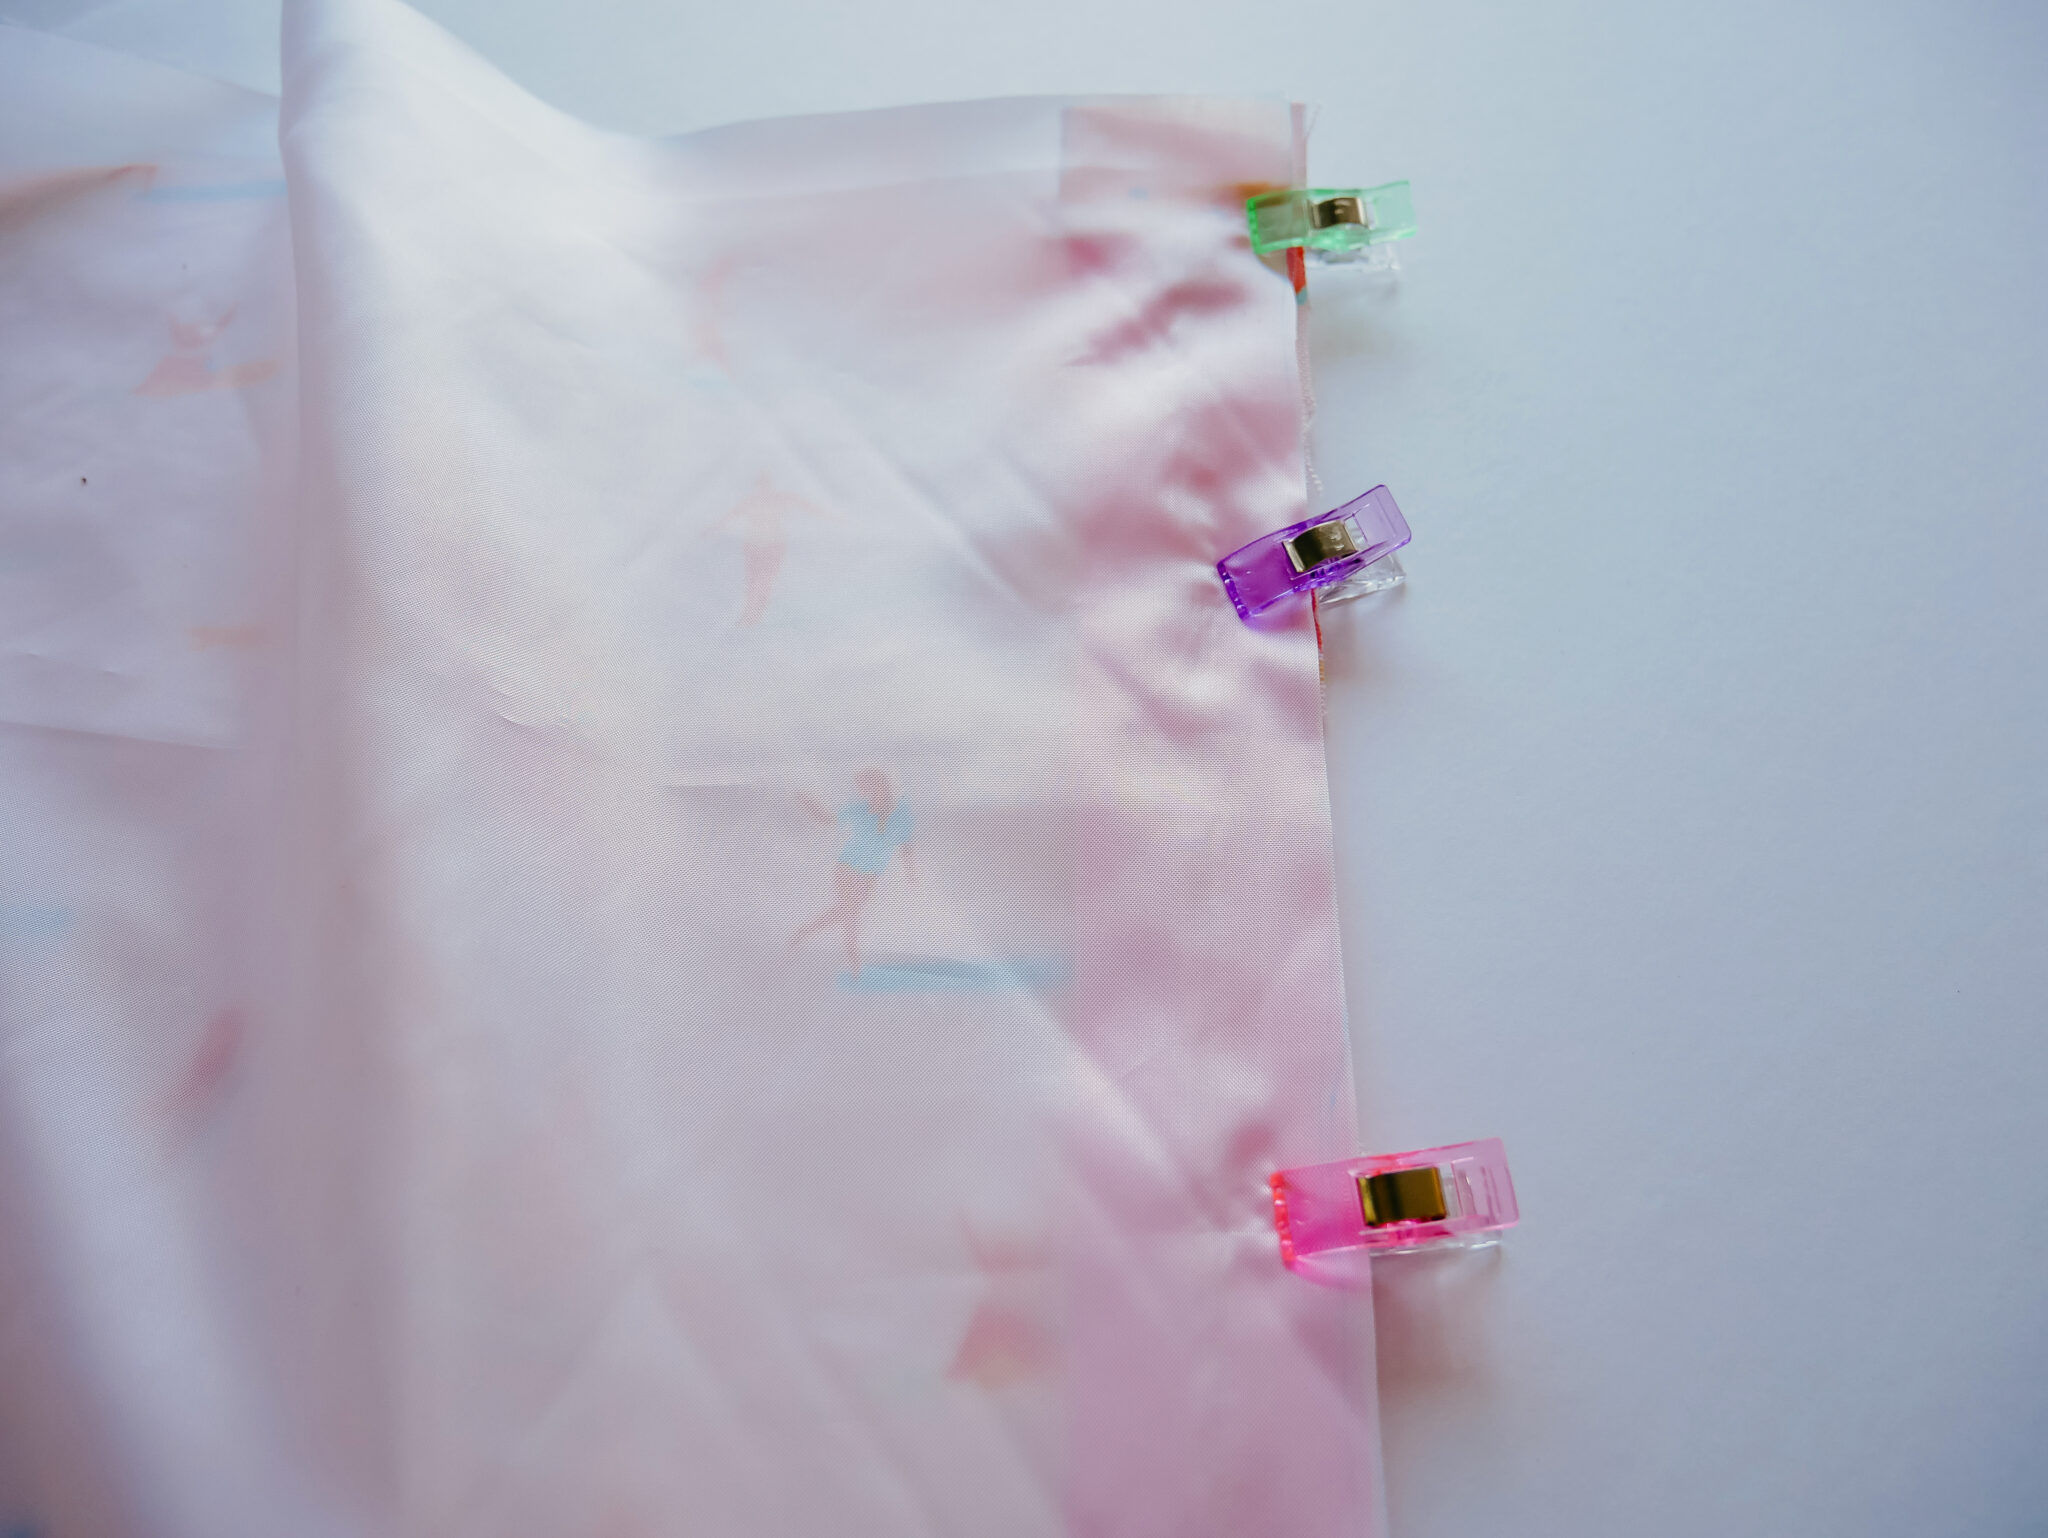
5. Create Fold
Place your bag flat with the zipper positioned in the middle of the fabric (the zipper should sit roughly 6” (16 cm) in from the edges).
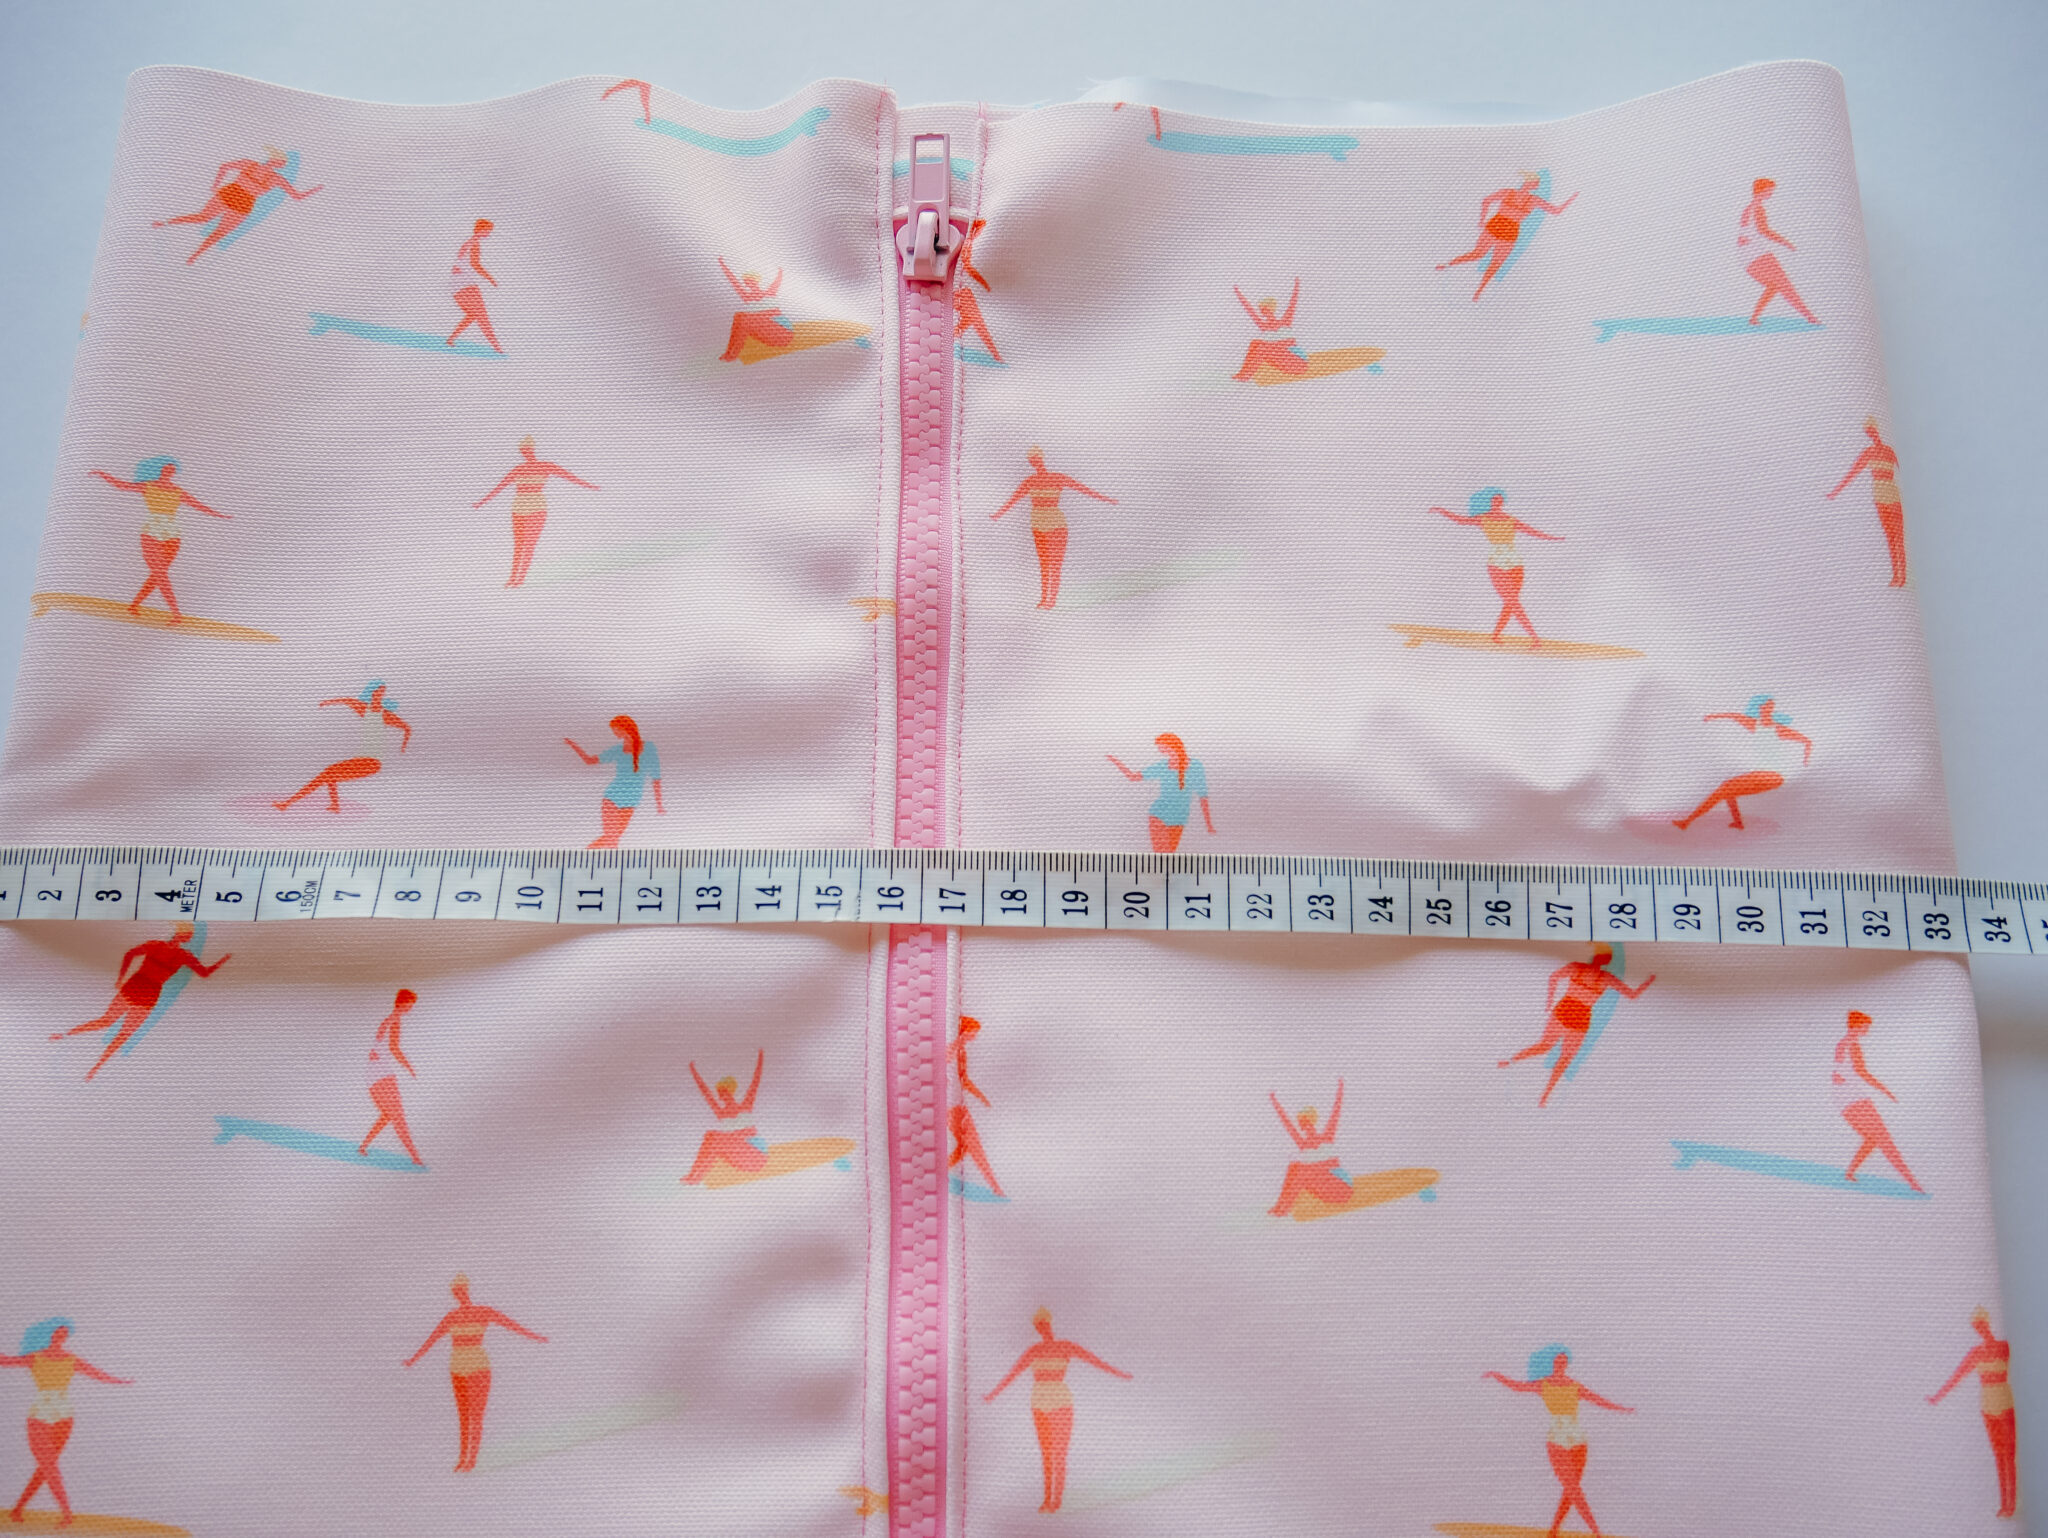
Fold one outer edge in towards the inside so it’s sandwiched between the layers, creating a Σ shape with a depth of 1.5” (4 cm).

Affix in place with clips or pins and repeat on the other side.
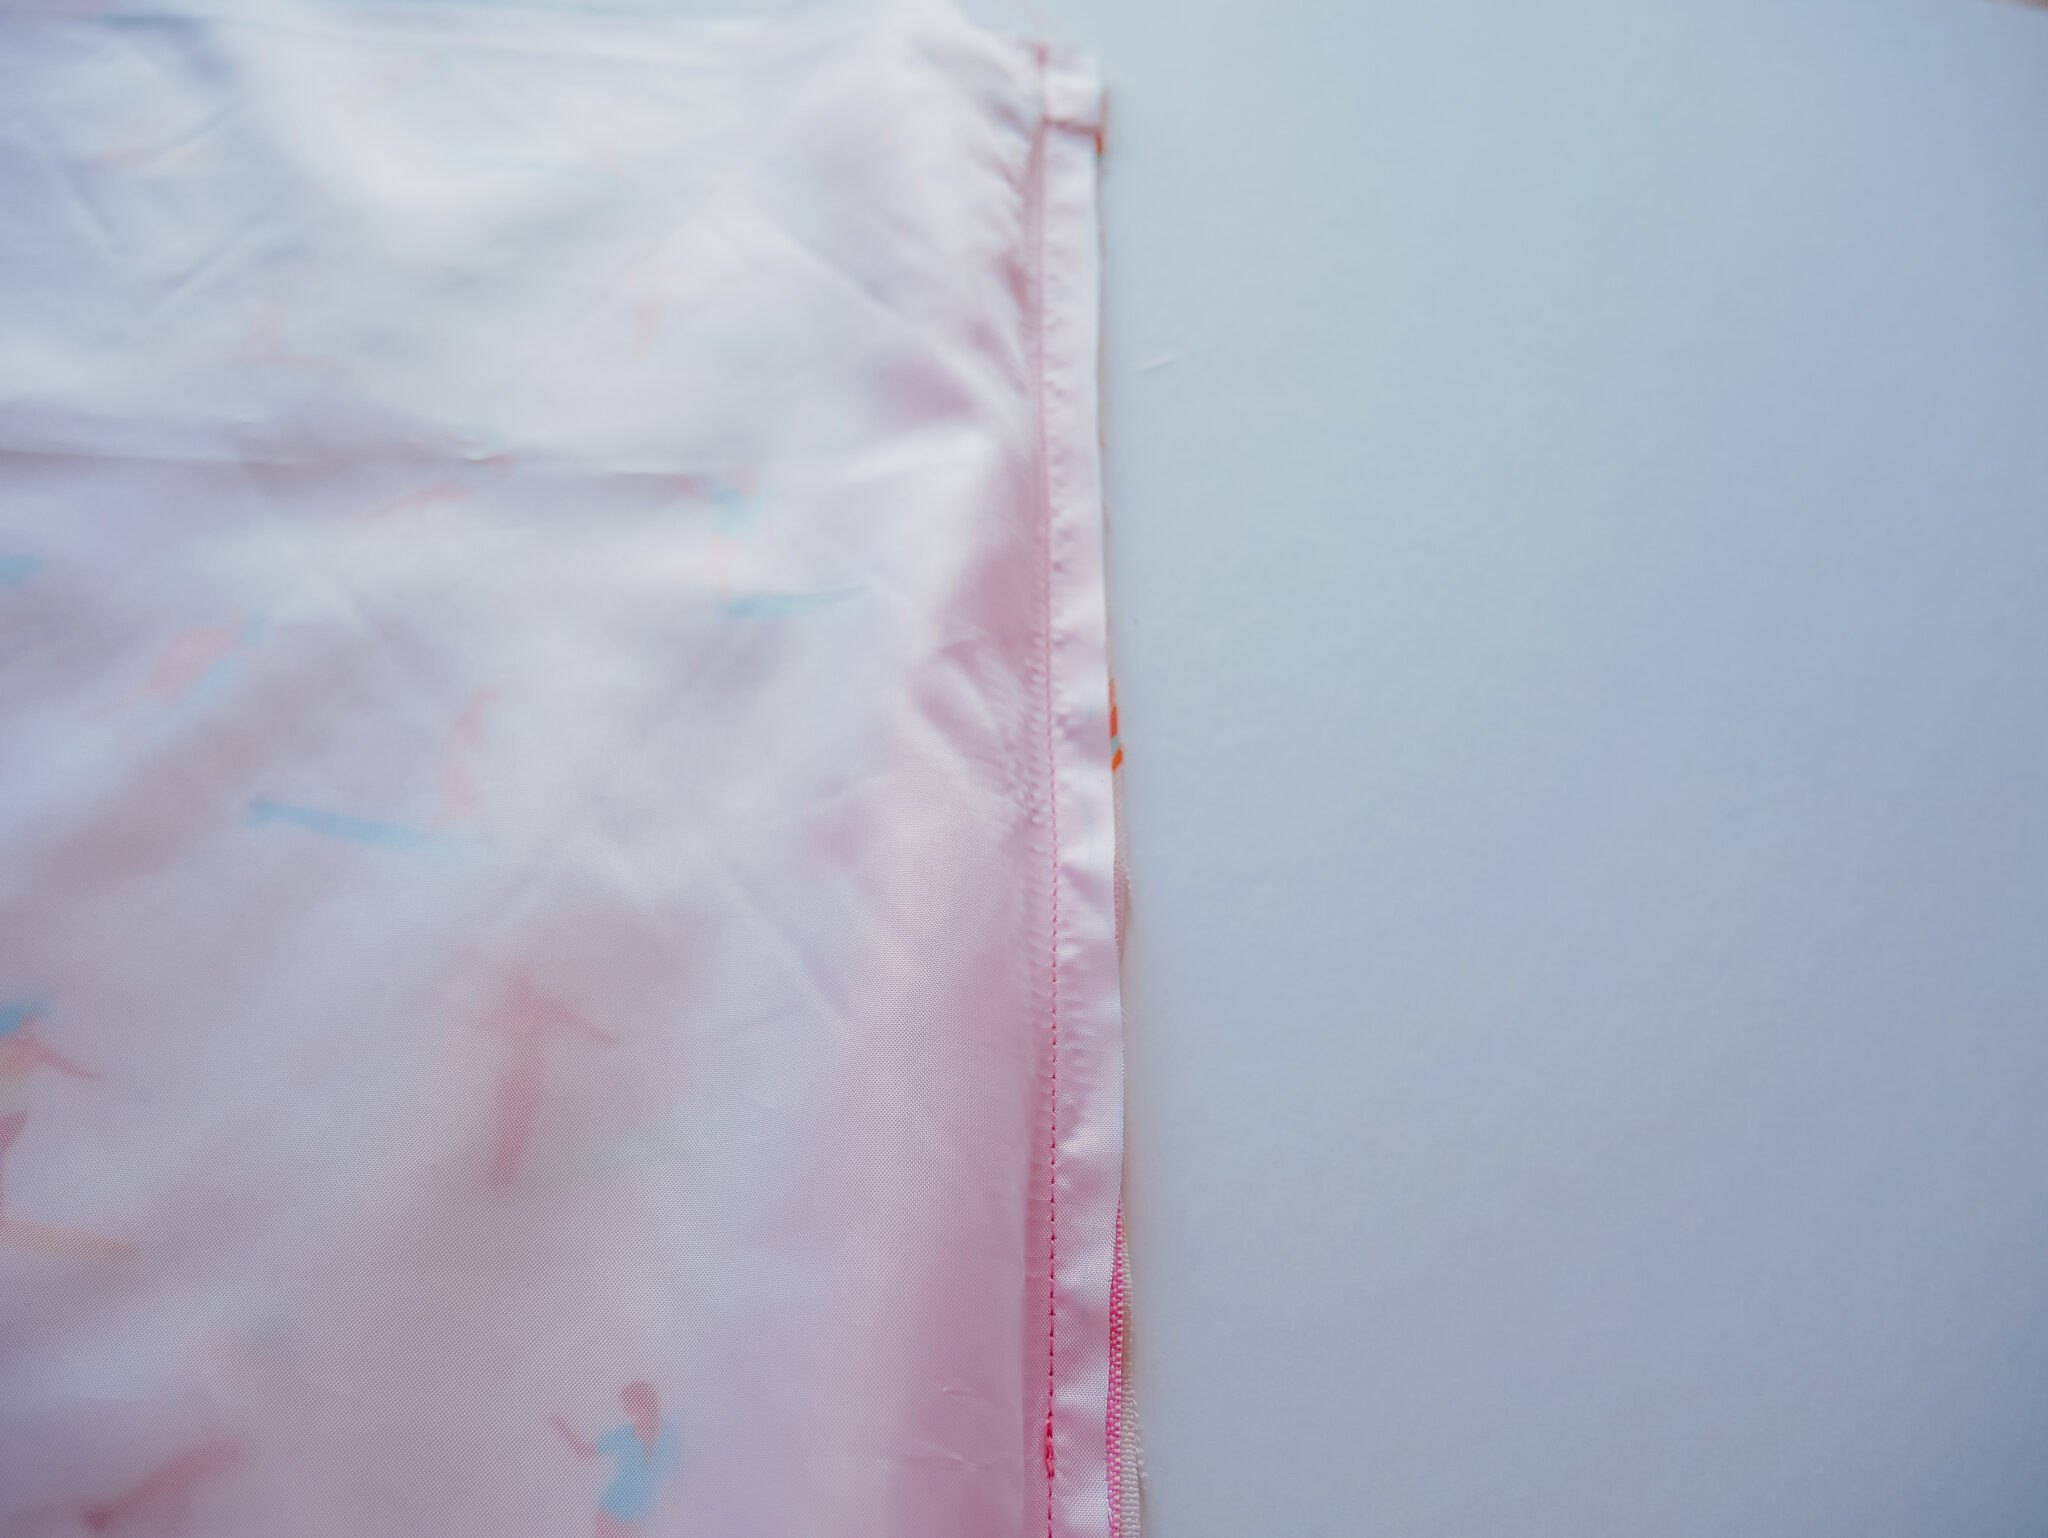
6. Finishing Steps
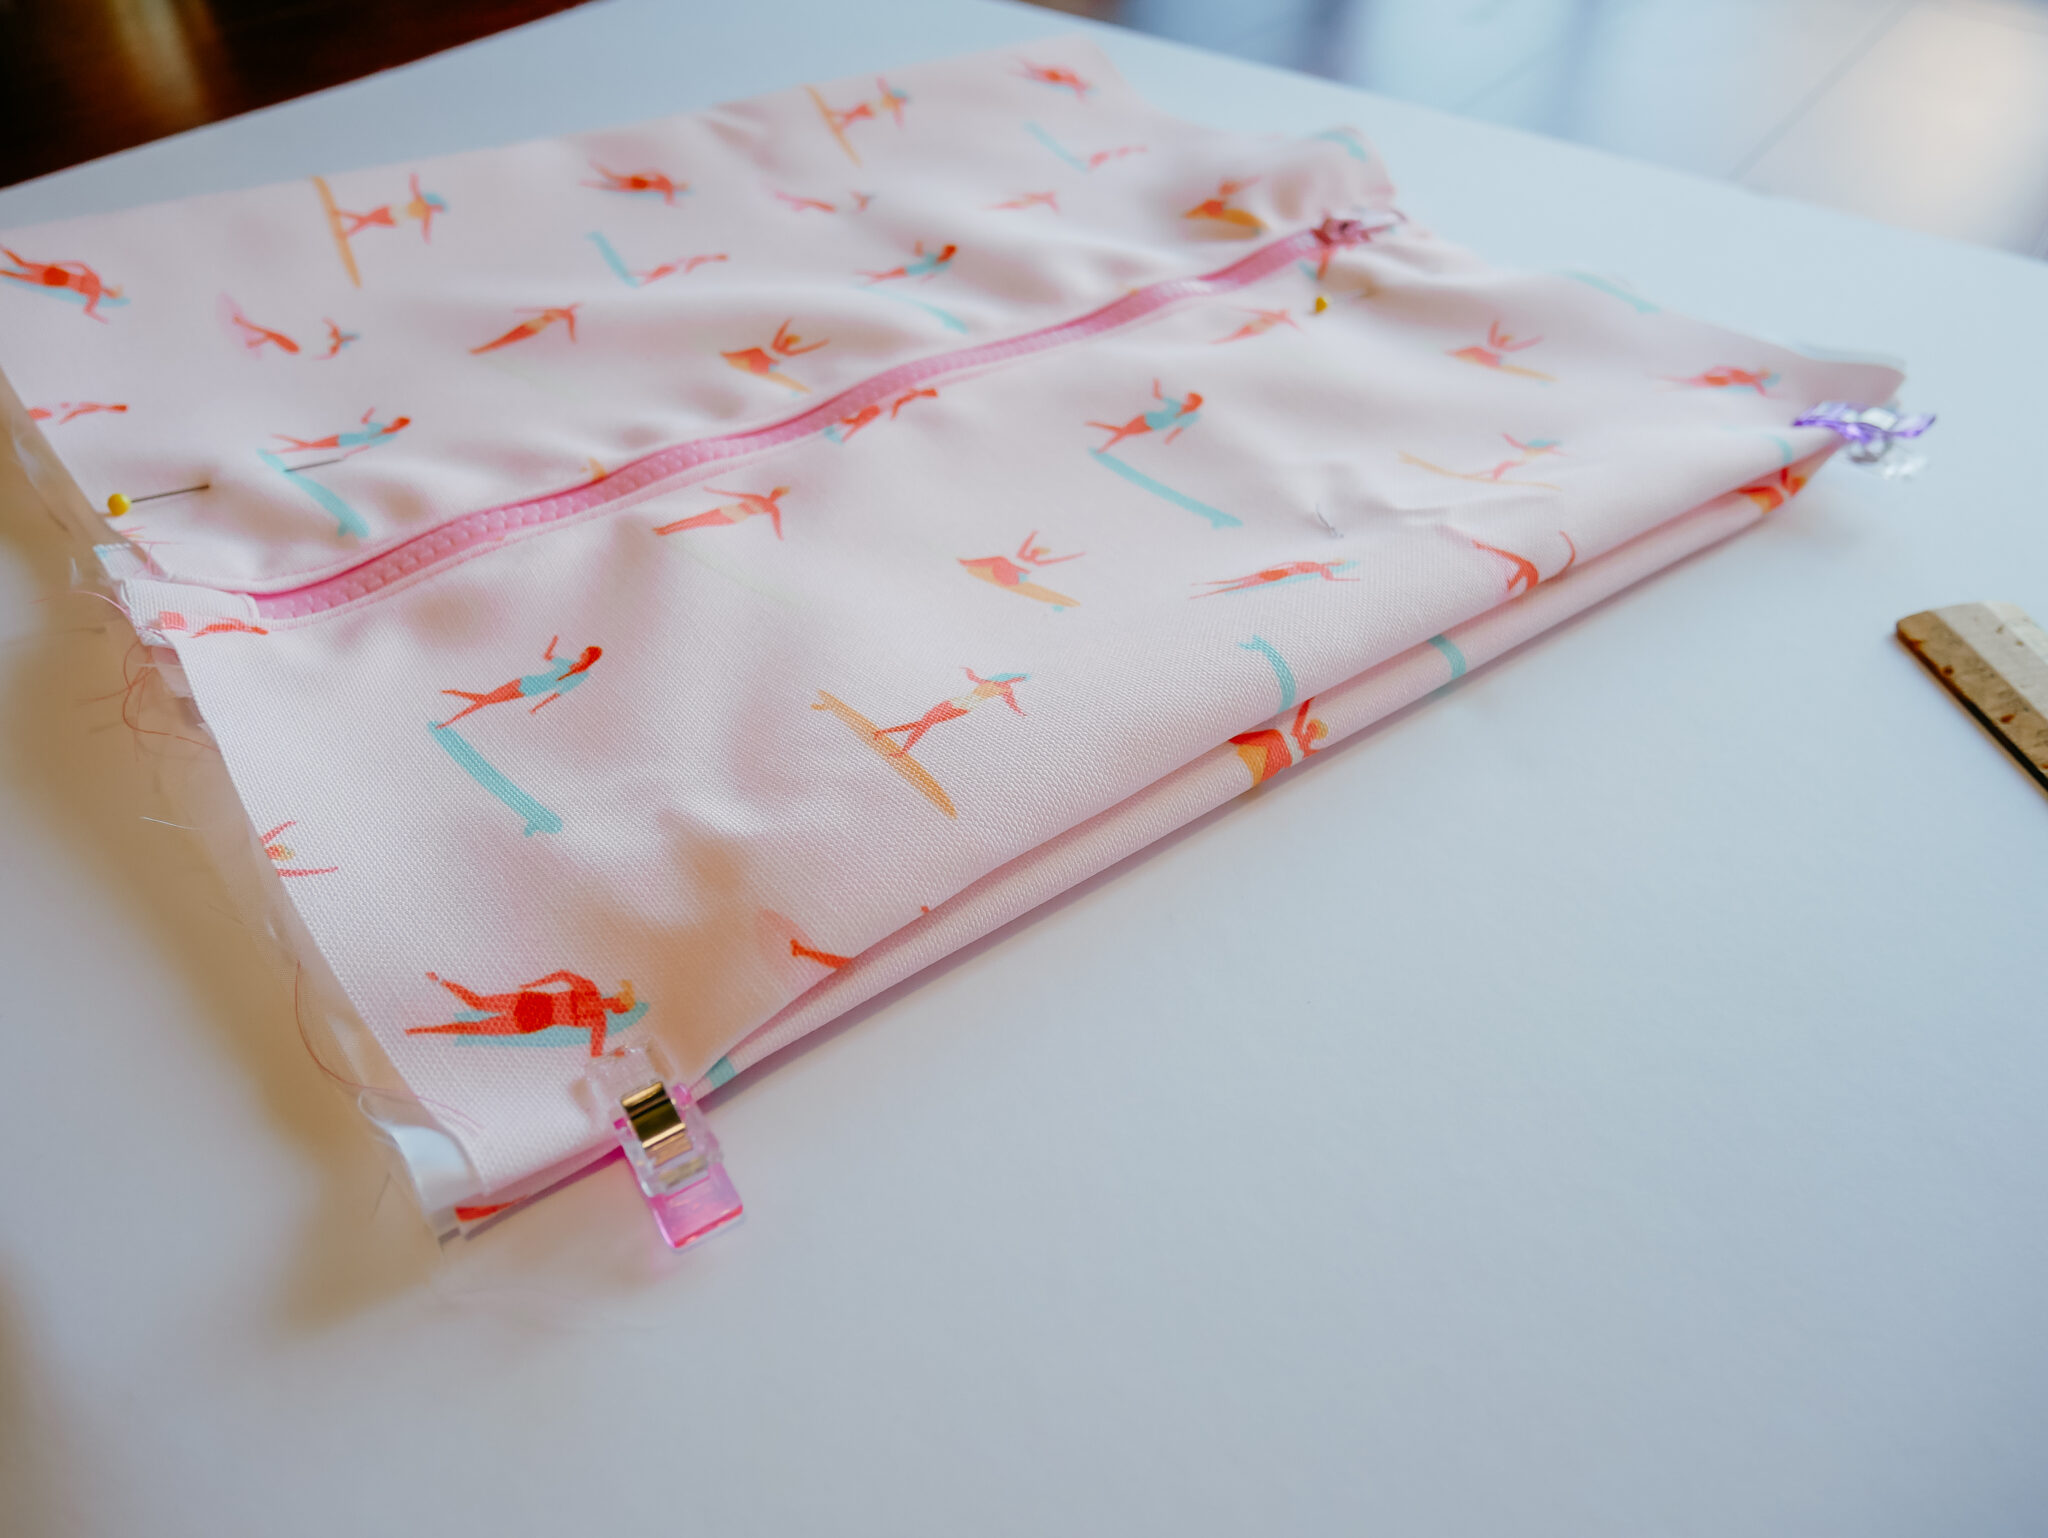
On the top edge of the bag (where the zipper sits when closed), pin or clip your handle in place, centered with each end 1.5” (3.8 cm) away from the zipper.
We are going to finish the bag with a neat French seam so with the bag right side out, stitch along the open top and bottom with a 1/4” (0.6 cm) seam allowance. Then flip the bag inside out and sew along these edges again with a 1/2” (1.2 cm) seam, encasing the raw edges on the other side.
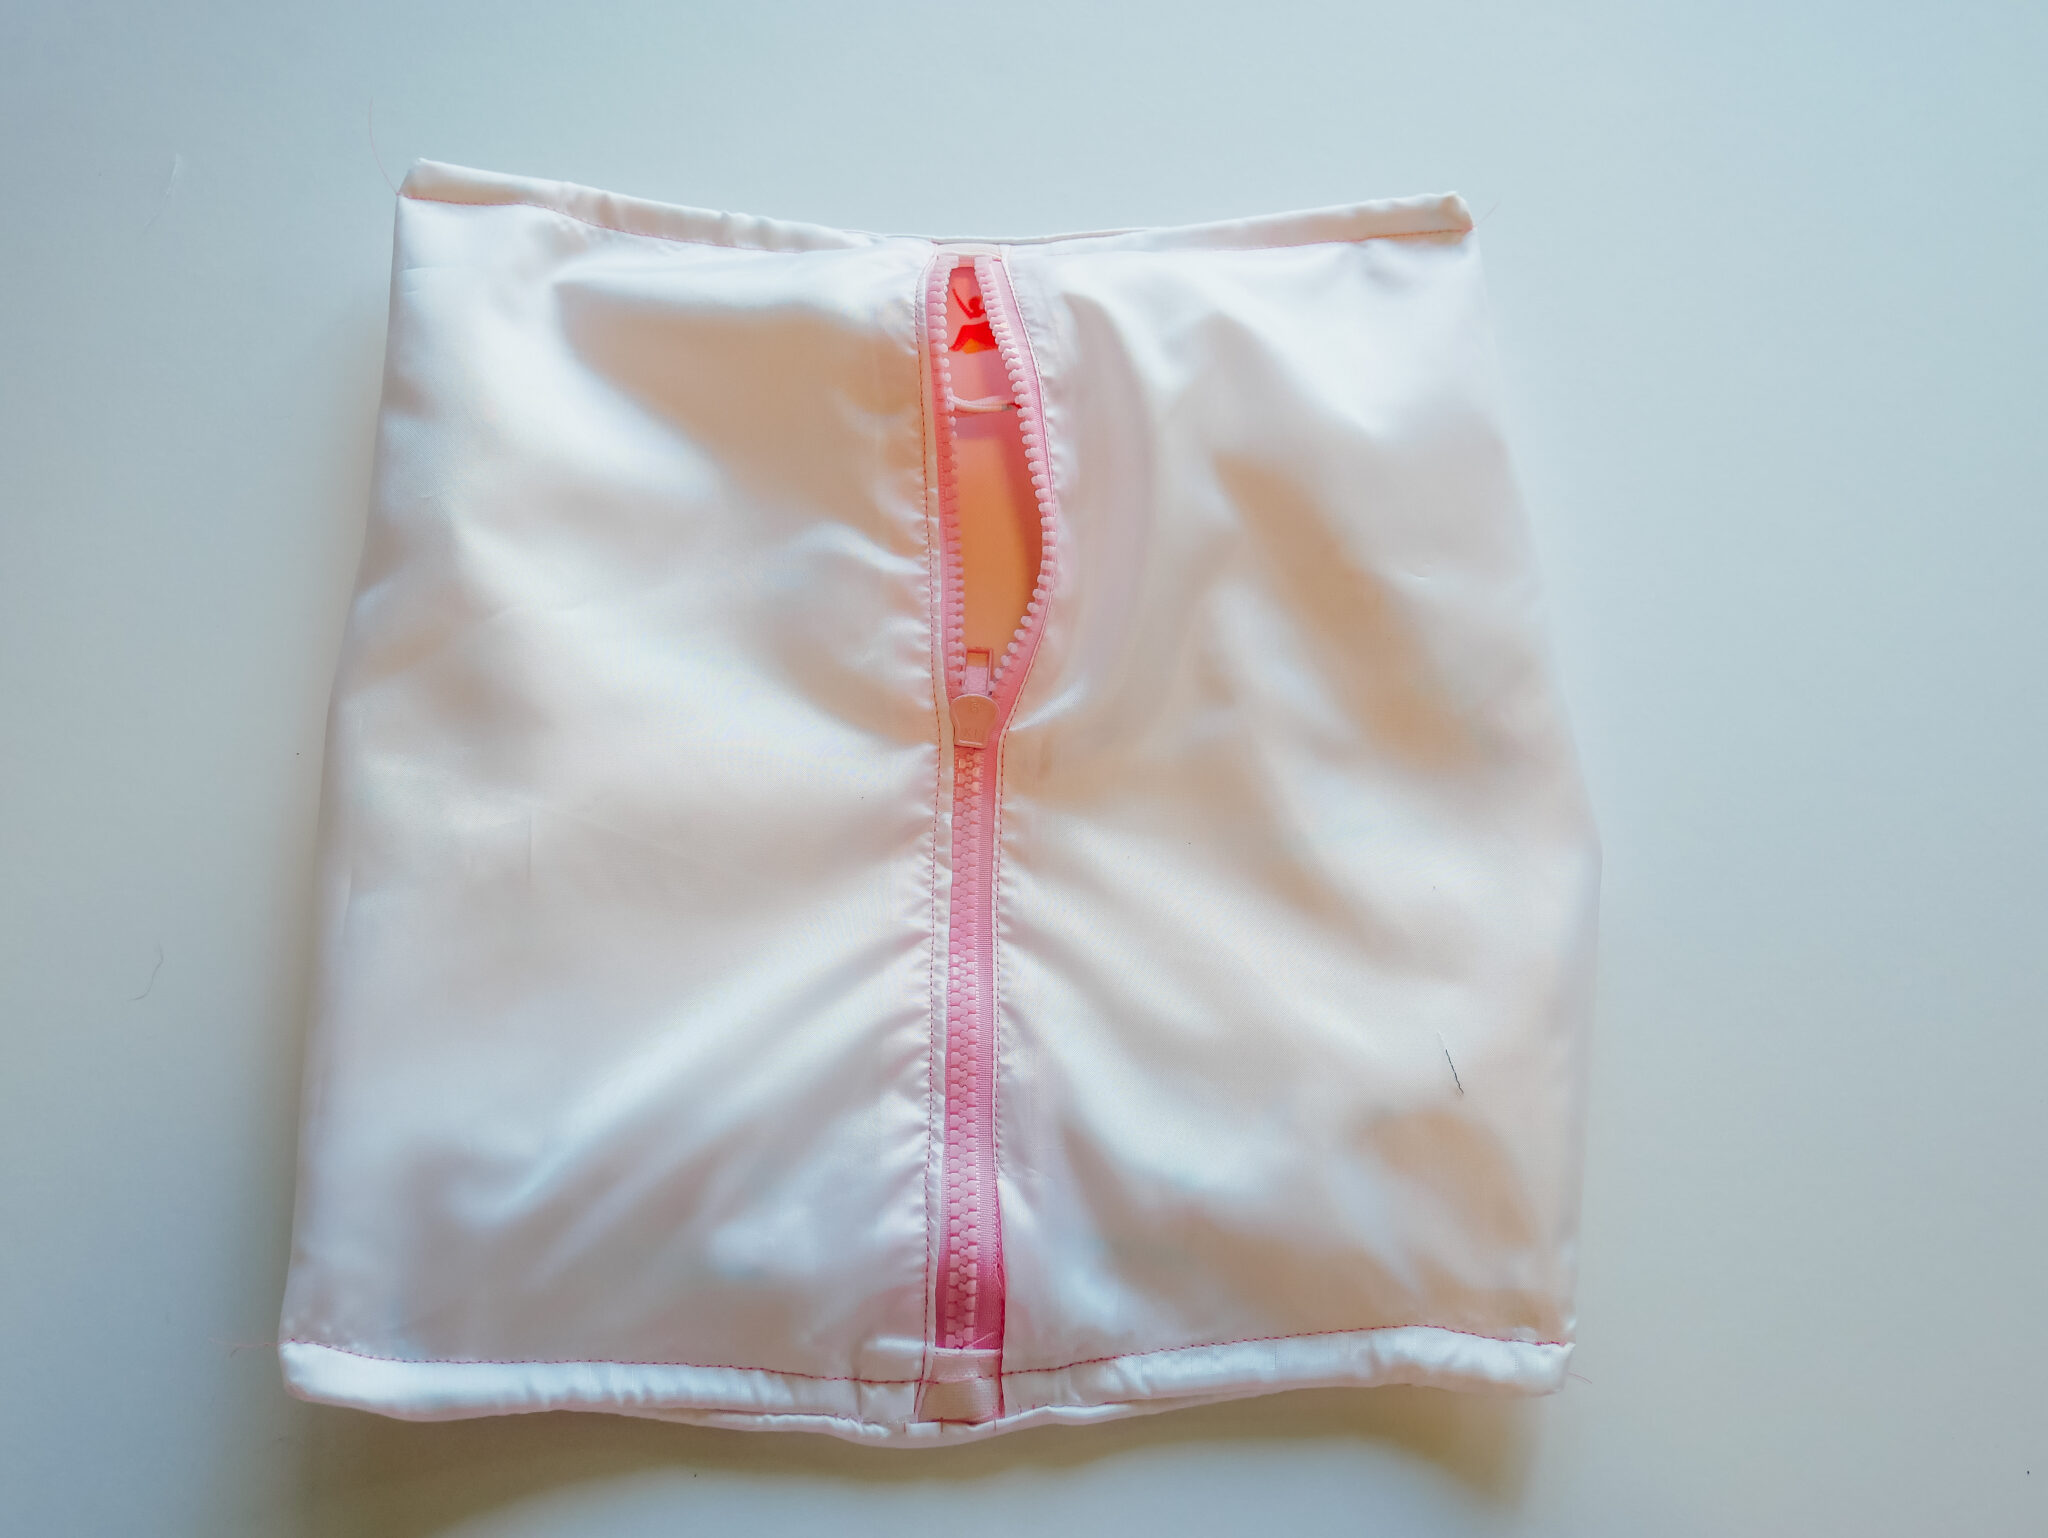
Flip your bag right way out again and voilà! You’re ready to hit the beach, or simply head out and about with an easy mind knowing anything you encounter can be safely stored in this handy dandy pouch!
Frequently Asked Questions
Want to Learn More From Our Friends at Peppermint?
See Their Quilted Coaster TutorialAbout the Author:
The post How to Make a Wet Bag appeared first on Spoonflower Blog.